DIY Super Bowl Candy Charcuterie Board

image00004.jpeg

Look how fun this DIY Super Bowl Candy Charcuterie Board turned out!

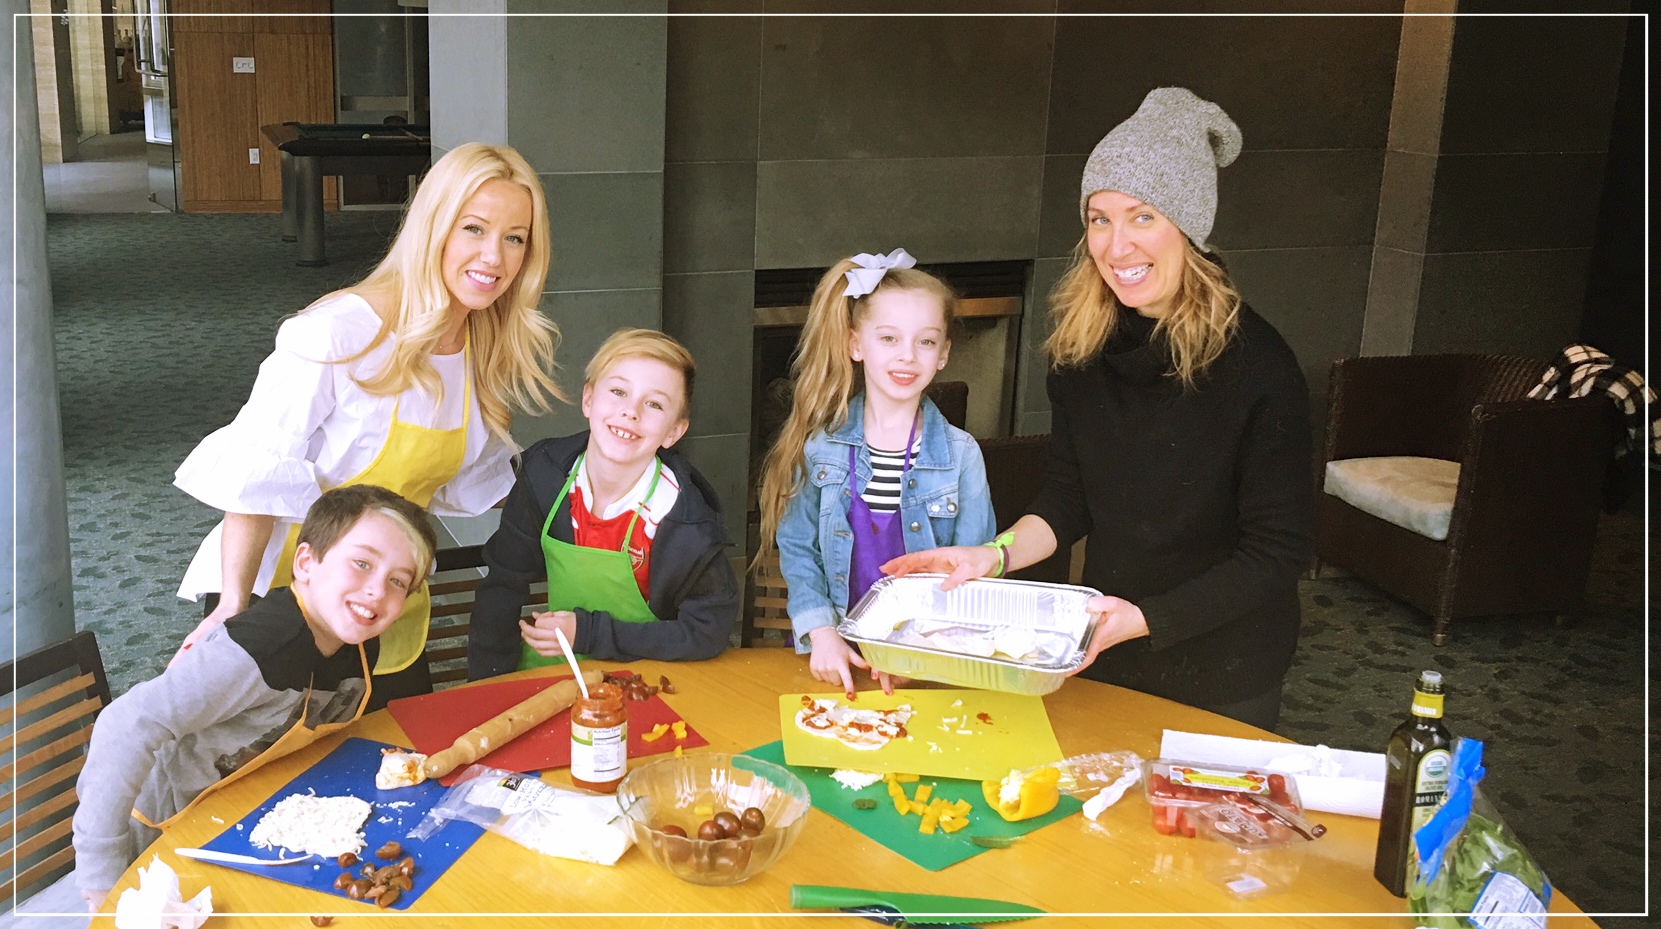
Every year for the super bowl, my building throws a huge party in the lounge (common area) and all our friends and neighbors gather to watch the big game! This year I wanted to bring something sweet and special for the kids. That’s how I came up with this fun and simple game day dessert tray!

I know the kids are adults alike will love it!

image00005.jpeg

Here is how I made it:

  • Start by using a football or themed tray! (Not completely necessary but fun to see peeking through under the candy as it starts to get eaten!)

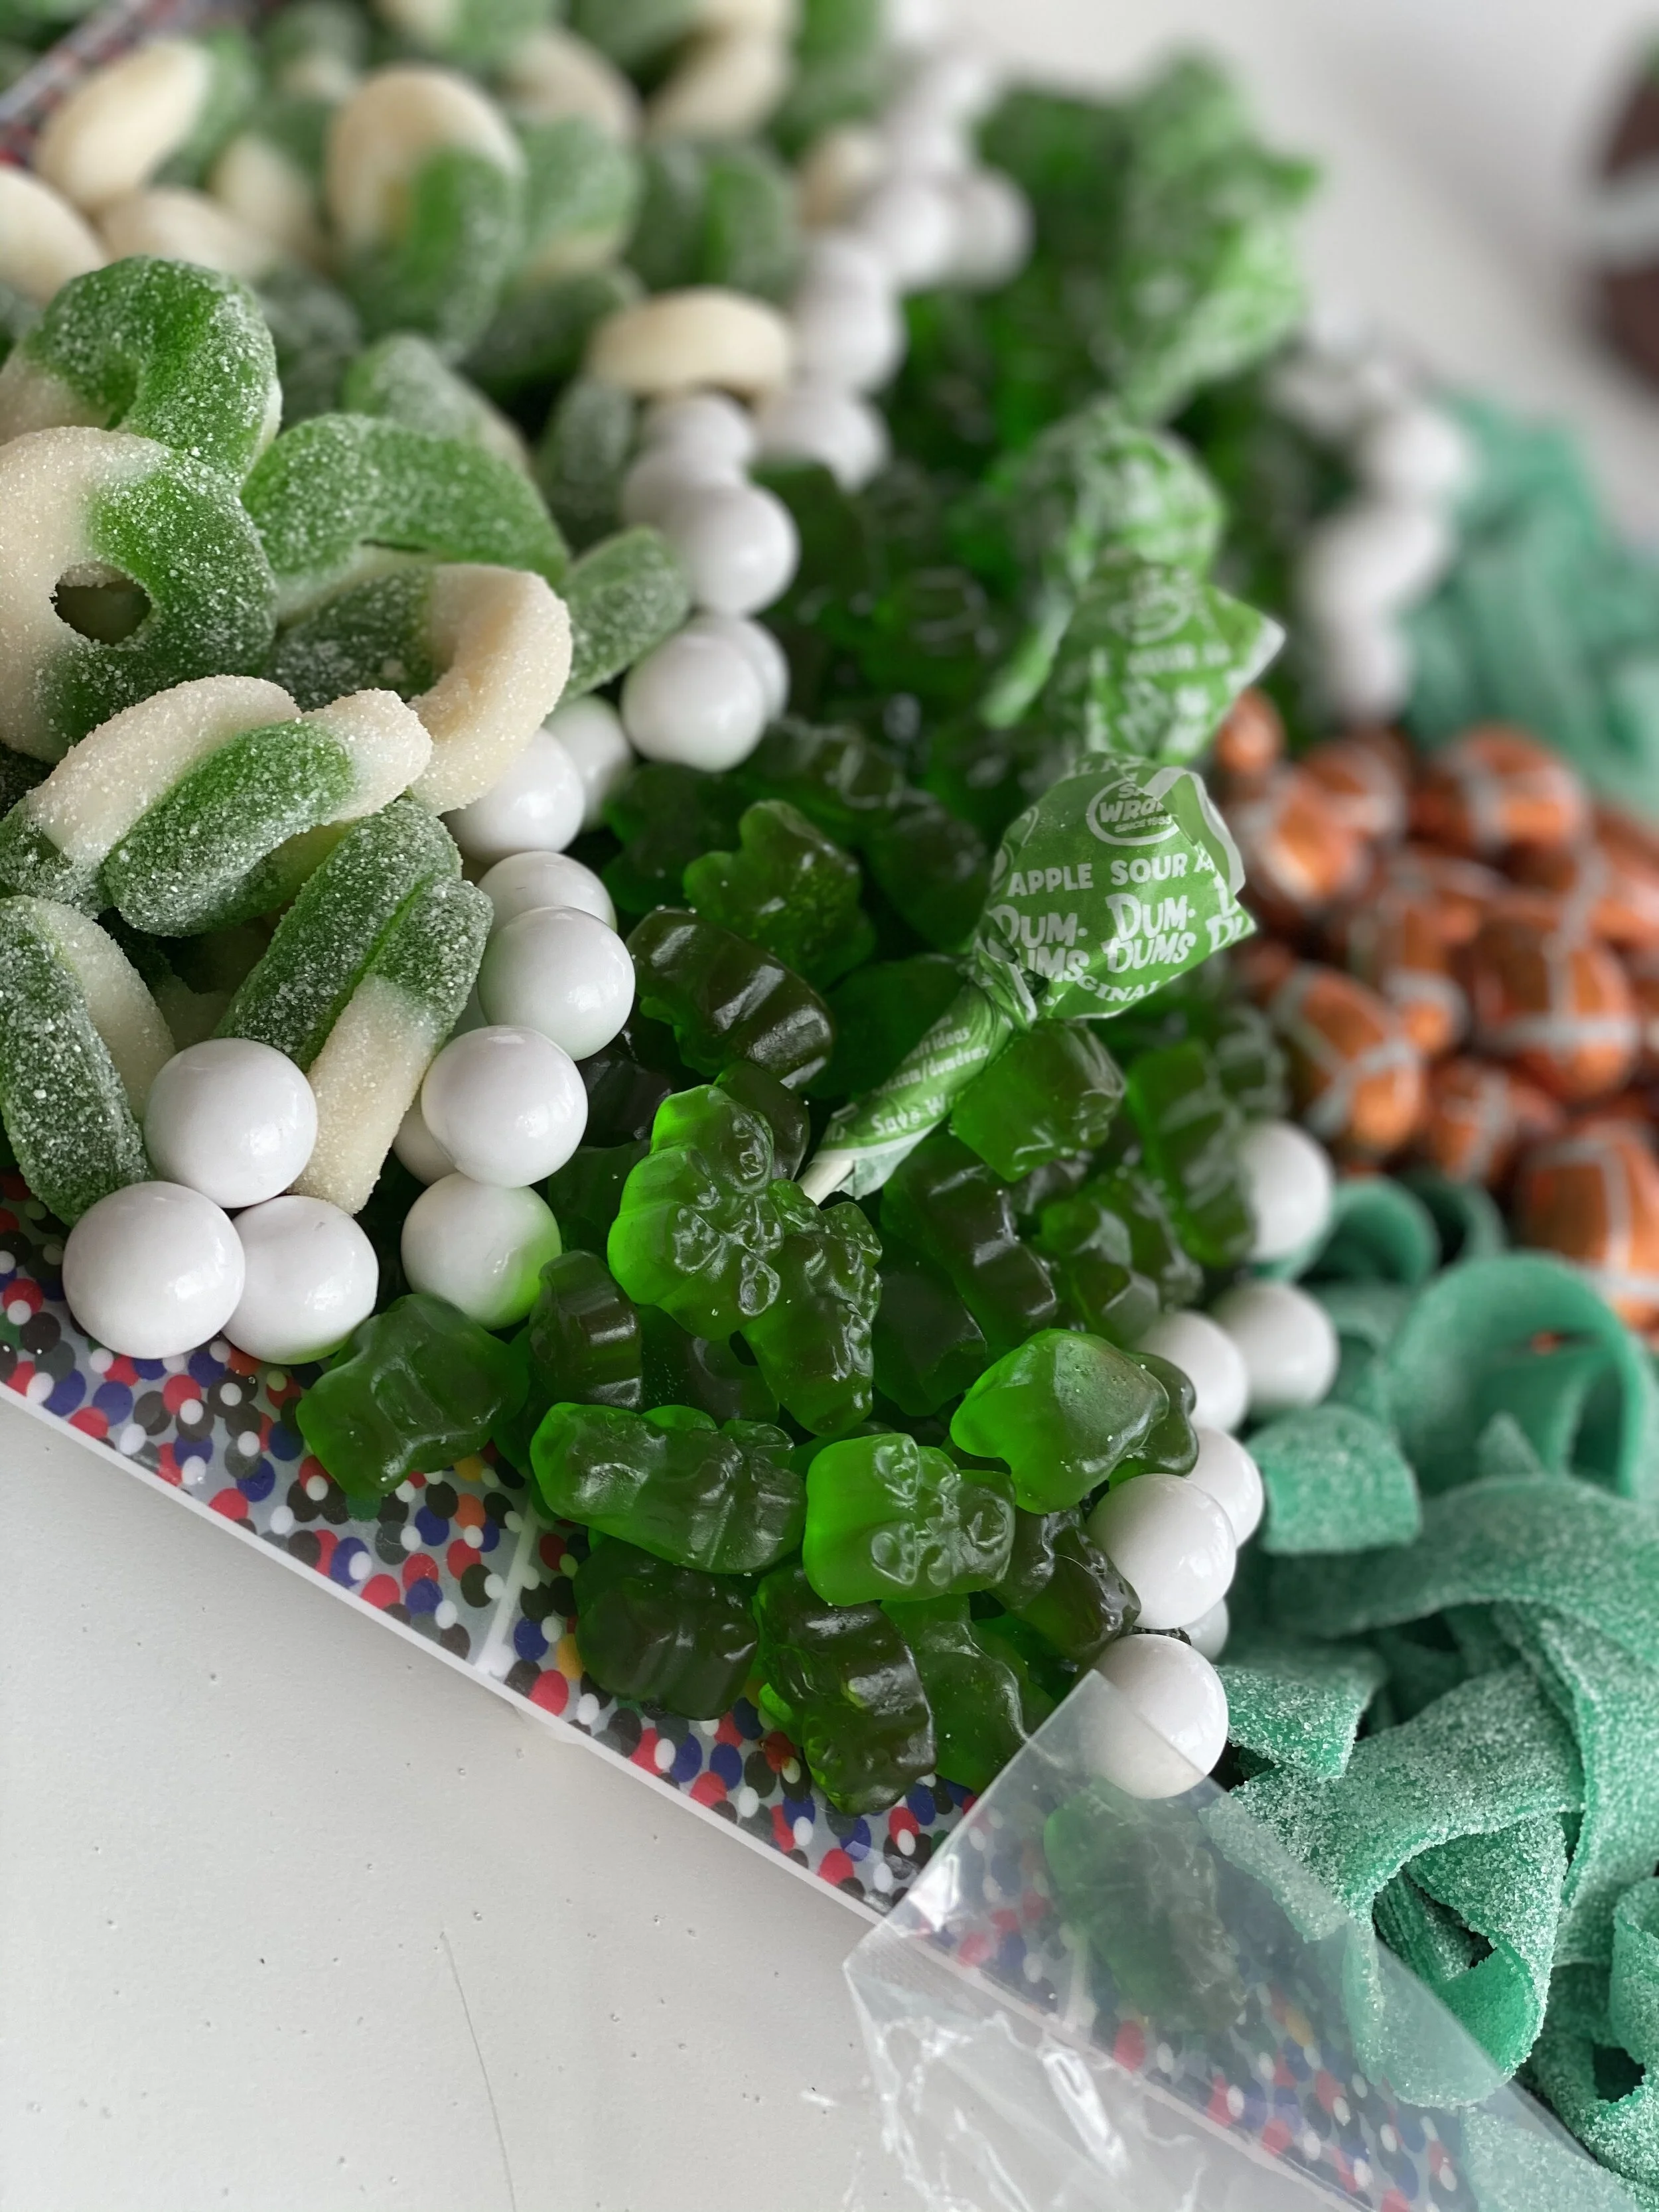
  • Get tons of bulk candy in greens, whites and browns.

  • Then get creative and have fun creating a unique football design! Each one will be different depending on the candy you select. There is no right or wrong! So have fun with this!

IMG_1563.jpg

First you’ll want to get the major parts of the tray filled! My goal (pun intended!!) was to make it look like an actual field and football in the middle. I loved the tray that I had from last Super Bowl so I used that one and mirrored the candy to look the same as the tray! A big football in the center and the field around it.

image00009.jpeg

I used chocolate footballs for the center! Chocolate is hard to handle as it melts while you are working with it so I loved these little prewrapped ones I found on Amazon. Any chocolate candies will work so use what you know everyone will like!

image00003.jpeg

Then I used a mix of gummy bears, sour gummy rings, sour green strings, green dum sums and white gumballs to finish off the field lines. I love how it turned out! Can’t wait to share it with everyone on Super Bowl Sunday!!

image00007.jpeg

Kids Cooking with Tiny Turnip Kitchen

My kids just love cooking and getting their hands dirty!

I have been taking them to kiddie cooking classes since they were super little and they still love pouring and mixing ingredients. The best part is they always try new foods!! And that makes me so happy.

That is why when Andrea Kapner, founder of Tiny Turnip Kitchen, offered to do a private cooking class just for us we couldn't refuse. Check out what she taught the kiddies to make! They loved every minute of it. 

But the best part is that I didn't have to drag all three kids on the subway to get to this cooking class like I had to do in the past. Tiny Turnip Kitchen comes to you. If you live in or around Manhattan, she can travel to you. She does private cooking classes as well as larger groups. 

So we grabbed a friend to join us as well! And he loved getting his hands in the mix just as much as my kids. 

Andrea taught the kids how to use the kid safe knives properly and about nutrition. She also can develop recipes that cater to children with food allergies. So you won't have to worry if your little one has sensitivities to certain foods.

Here are the recipes from our cooking class! They were so yummy...

Carrot Cake bites, Allergy free (nut, gluten, and dairy free)

Makes about 15

KIDS COOKING11.jpg
  • 2 cups unsweetened shredded coconut, 1/2 cup reserved to rolls carrot cake bites in
  • 2 small carrots, shredded
  • 6 medjool dates, seeds removed
  • 2 tablespoon sunflower seed butter (homemade recipe below)
  • 1/4 teaspoon cinnamon
  • 1/2 teaspoon concentrated natural vanilla extract
  • pinch of salt
  • 1-2 tablespoons honey
  • 1/4 cup chocolate chips
  • 1/4 teaspoon salt
  • 1/2 cup gluten free rolled oats or brown rice puffs
  1. Place the ingredients into your food processor and blend at high speed until the mixture is broken down and sticking together when pressed. 
  2. Use your hands to shape the mixture into 1 inch balls, or
  3. Roll each in reserved coconut flakes.

*To make sunflower seed butter add 1 cup of sunflower seeds, 1 tsp on salt, and 1 tablespoon of coconut oil to a food processor. Blend until a smooth consistency (about 3-4 minutes).

Veggie pizza empanadas: 

Dough

2 1/2 cups flour

6 tbs of butter

2 tsp salt

1/2 cup ice cold water

Veggies pizza filling

5-8 oz fresh spinach, stems removed, washed, chiffonade

8 oz whole milk mozzarella cheese, or similar white cheese such as queso quesadilla, shredded or crumbled

2 cups of tomatoes cut in half

1/2 cup of sweet pepper, yellow, red, or orange, diced.

Pizza sauce, or tomato sauce.

Egg wash:

1 large egg

1 tablespoon water

Make the dough: 

Add flour, salt, and butter to a food processor and mix until the dough is flaky. While the motor is running slowly add cold water until the dough comes together, add more water if needed.Wrap the dough in plastic and refrigerate for at least 2 hours.

Assemble the empanadas: Preheat the oven to 375°F. 

Tear off pieces of dough to roll about 12 large or 24 small balls of dough. Using a rolling pin, roll out dough balls on lightly floured surface into circles with a 3/8-inch thickness. Just don’t roll the dough too thin because this filling (unlike the meat filling in the Argentine empanadas) can expand and burst the pastry if the dough is too thin or the empanada is over-stuffed with filling. Place cheese, veggies, and 1 tbsp of tomato sauce in circle (depending on the size of the empanadas you are making). Fold over and press edges firmly to seal, use a fork to seal the edges. *Optional egg wash, beat egg and water in small bowl. Brush egg wash over each empanada.Place empanadas on cookie sheet and bake until golden brown, 20-25 minutes. Makes 12 large or 24 small empanadas.

To start your kids cooking today, contact Tiny Turnip Kitchen or email Andrea directly at tinyturnipskitchen@gmail.com.