DIY Mother's Day Gifts, At Home Beauty and Baking Kits.. Oh, My!

As seen on Connecticut News Channel 8 Click Here to see the full segment!

Mother’s Day is right around the corner and even though we are ALL social distancing, it doesn’t mean you can’t celebrate in style!

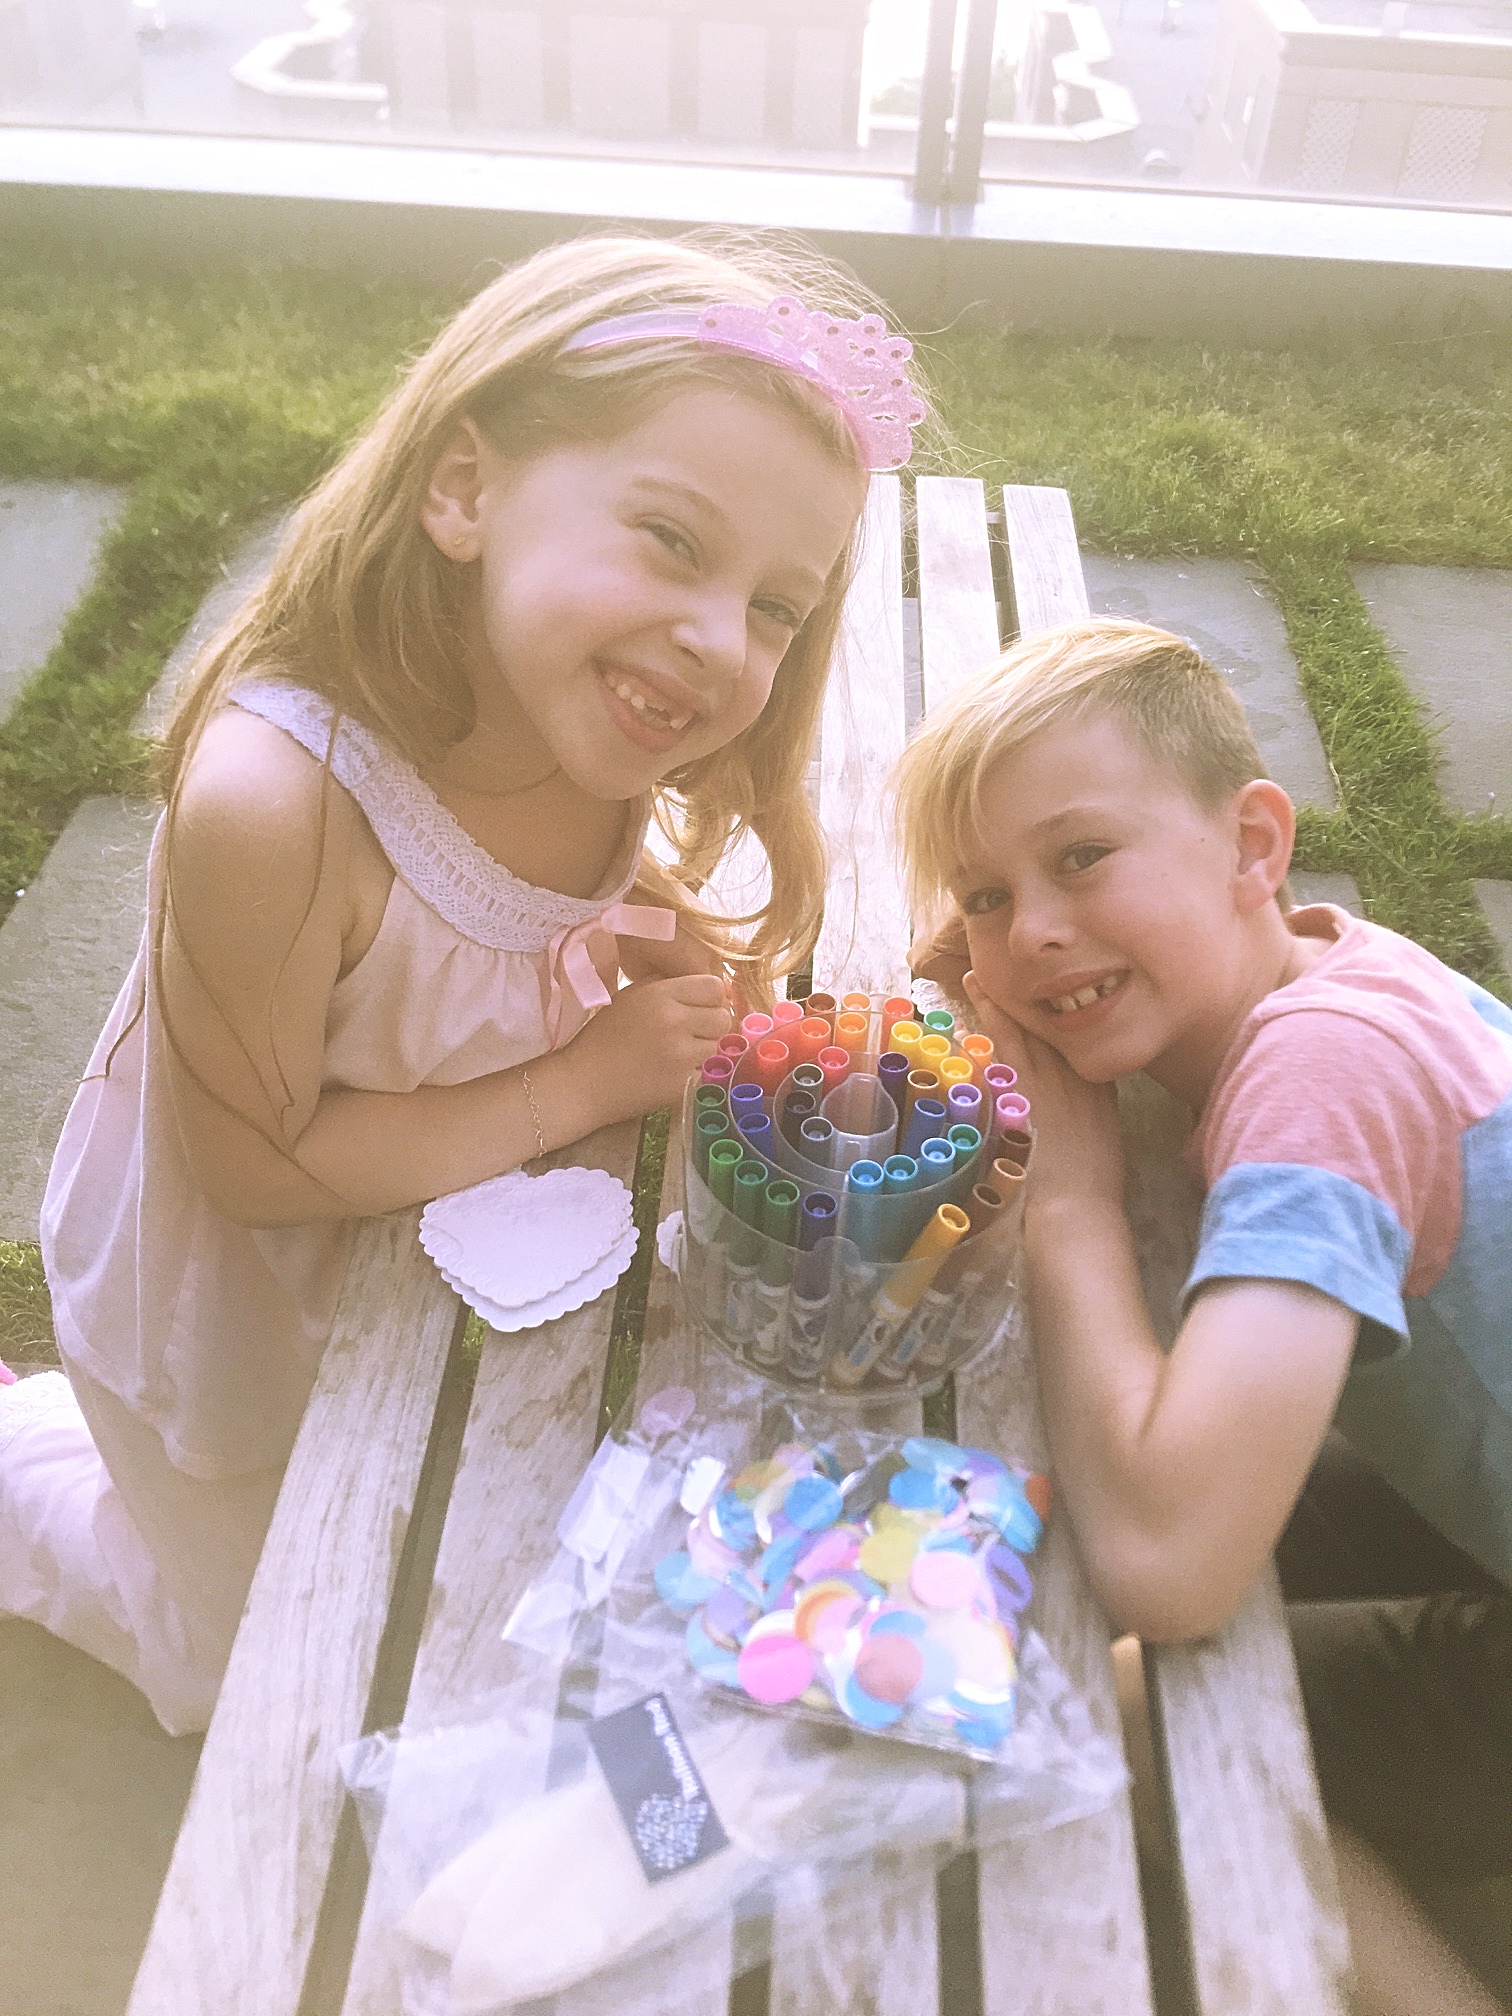
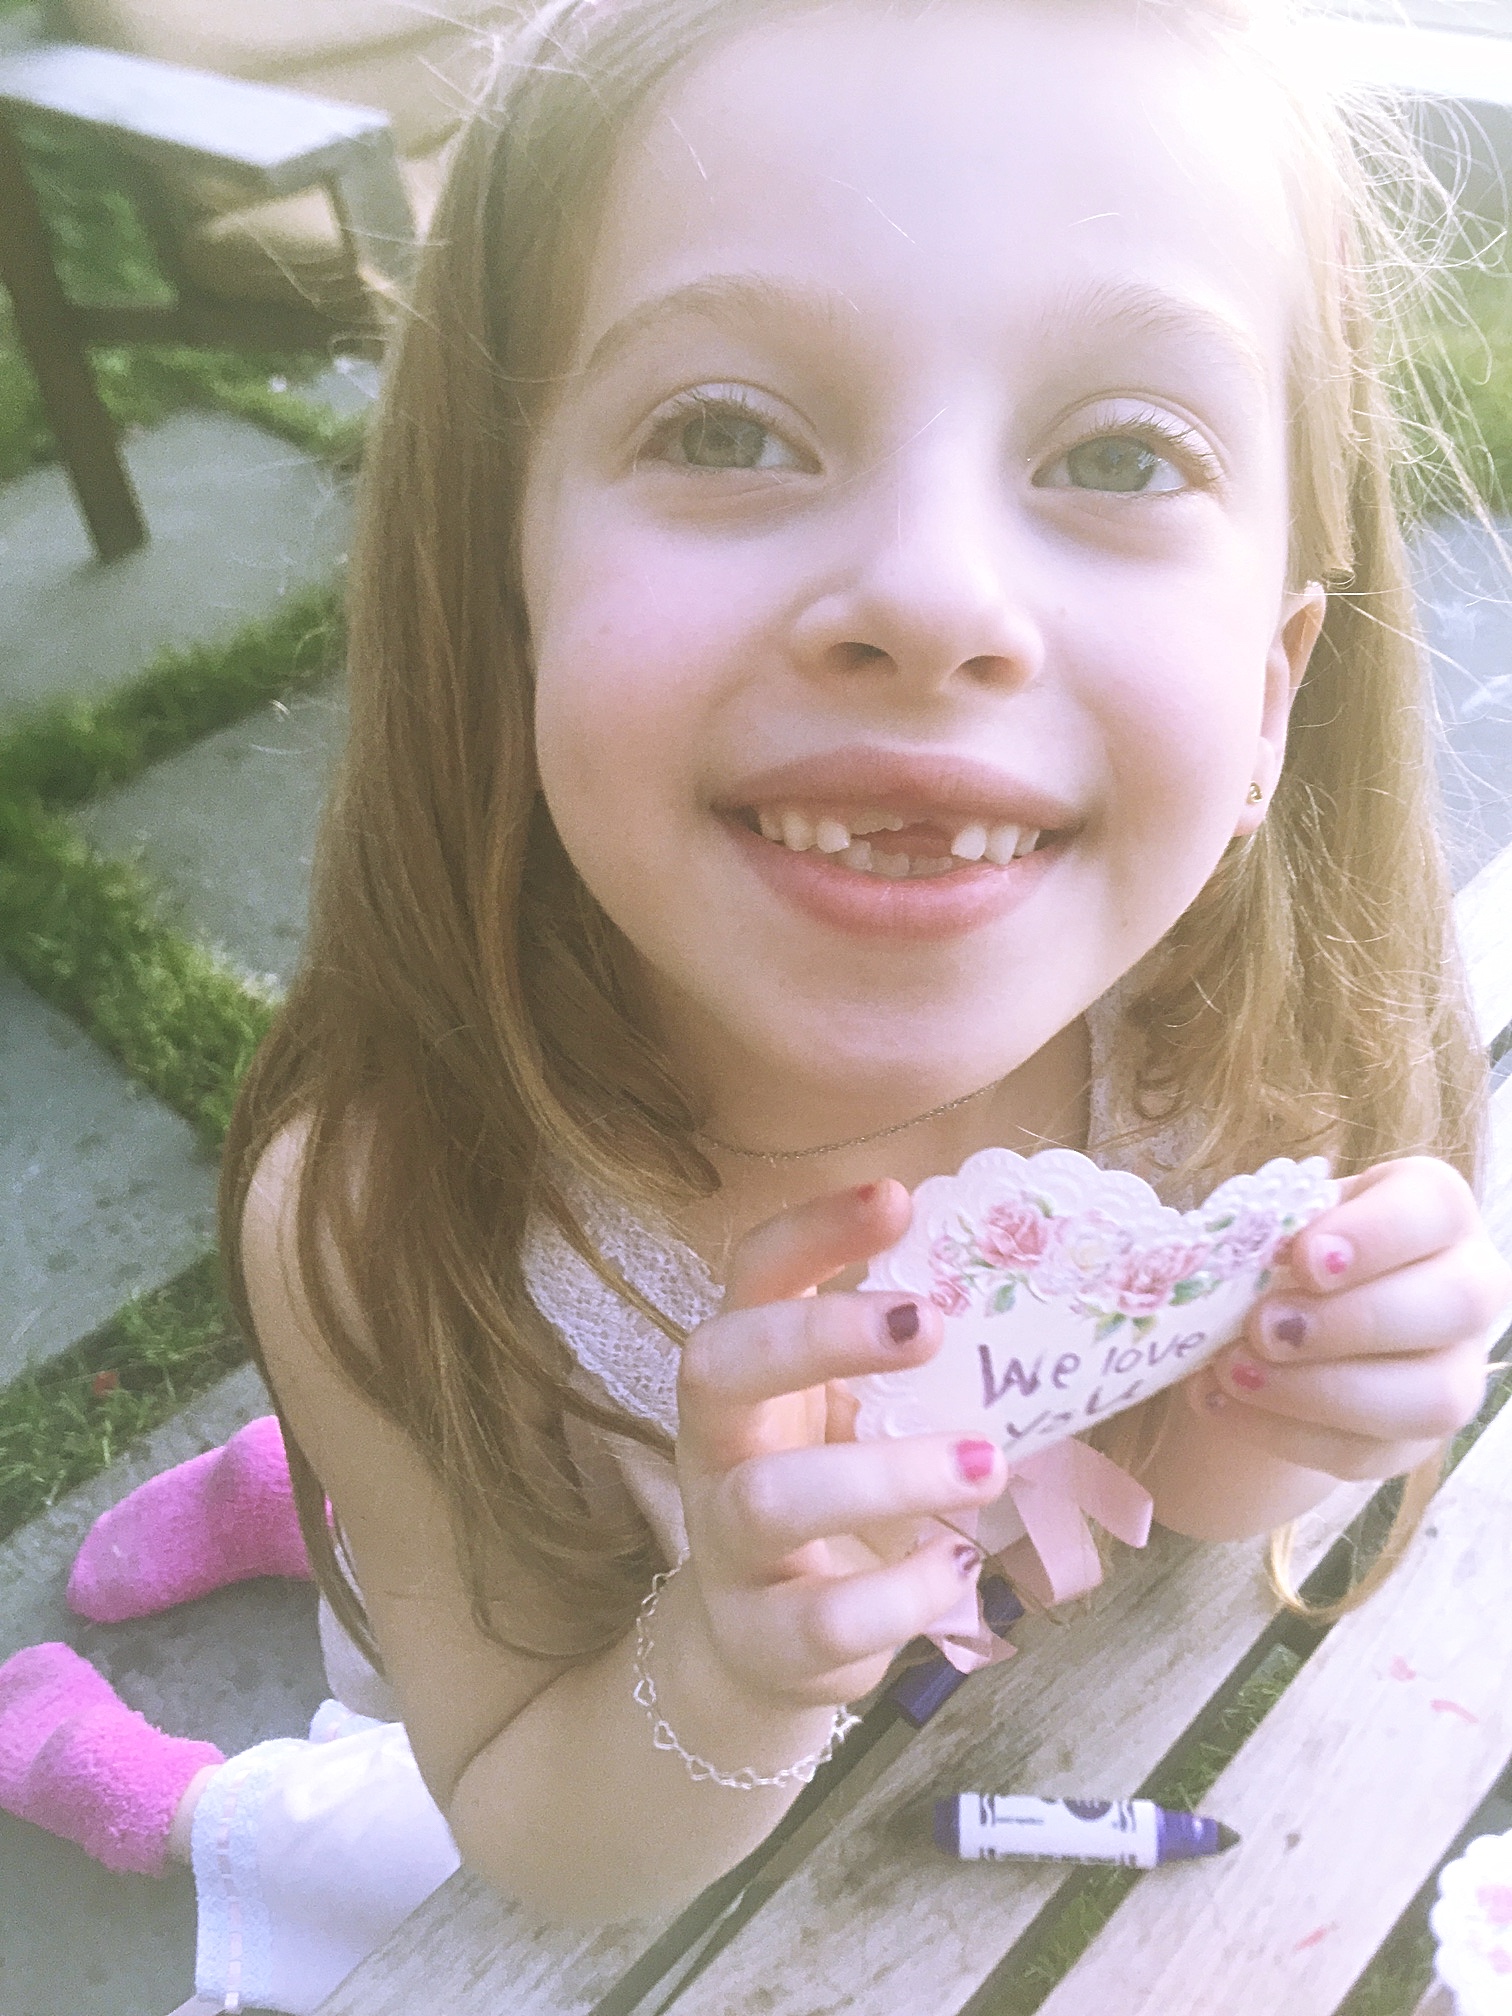
I have some really fun crafts that you can do with the kids, mommy and me, or to help out all those Dad’s out there… You can make for mom with the kids! Trust me all Mom need a little extra love this year and here are some easy and FUN ways to honor her. Plus, I have some great gifts ideas that are shipping!

Screenshot 2020-05-01 23.19.39.png

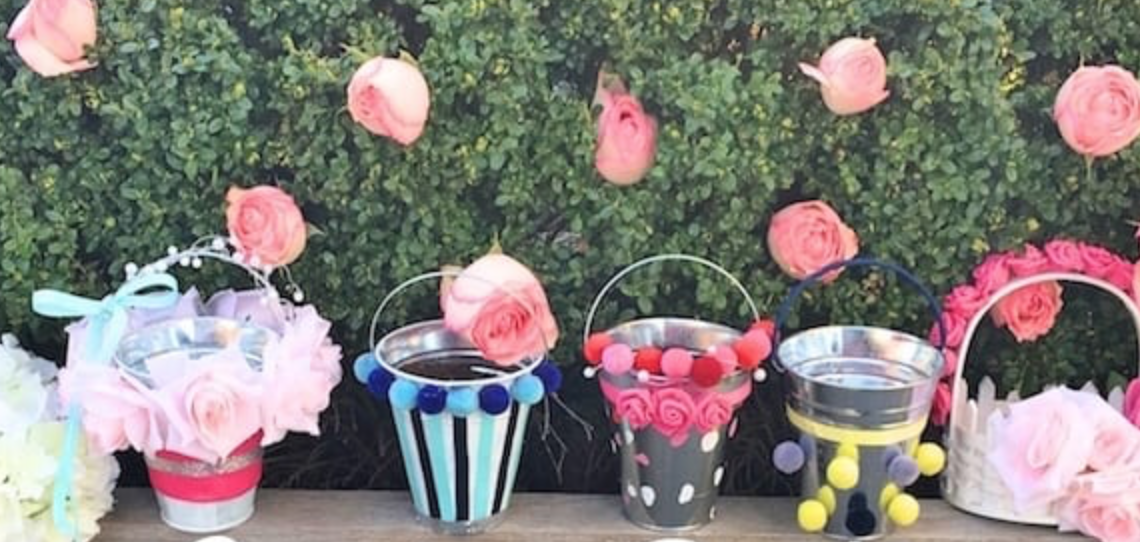
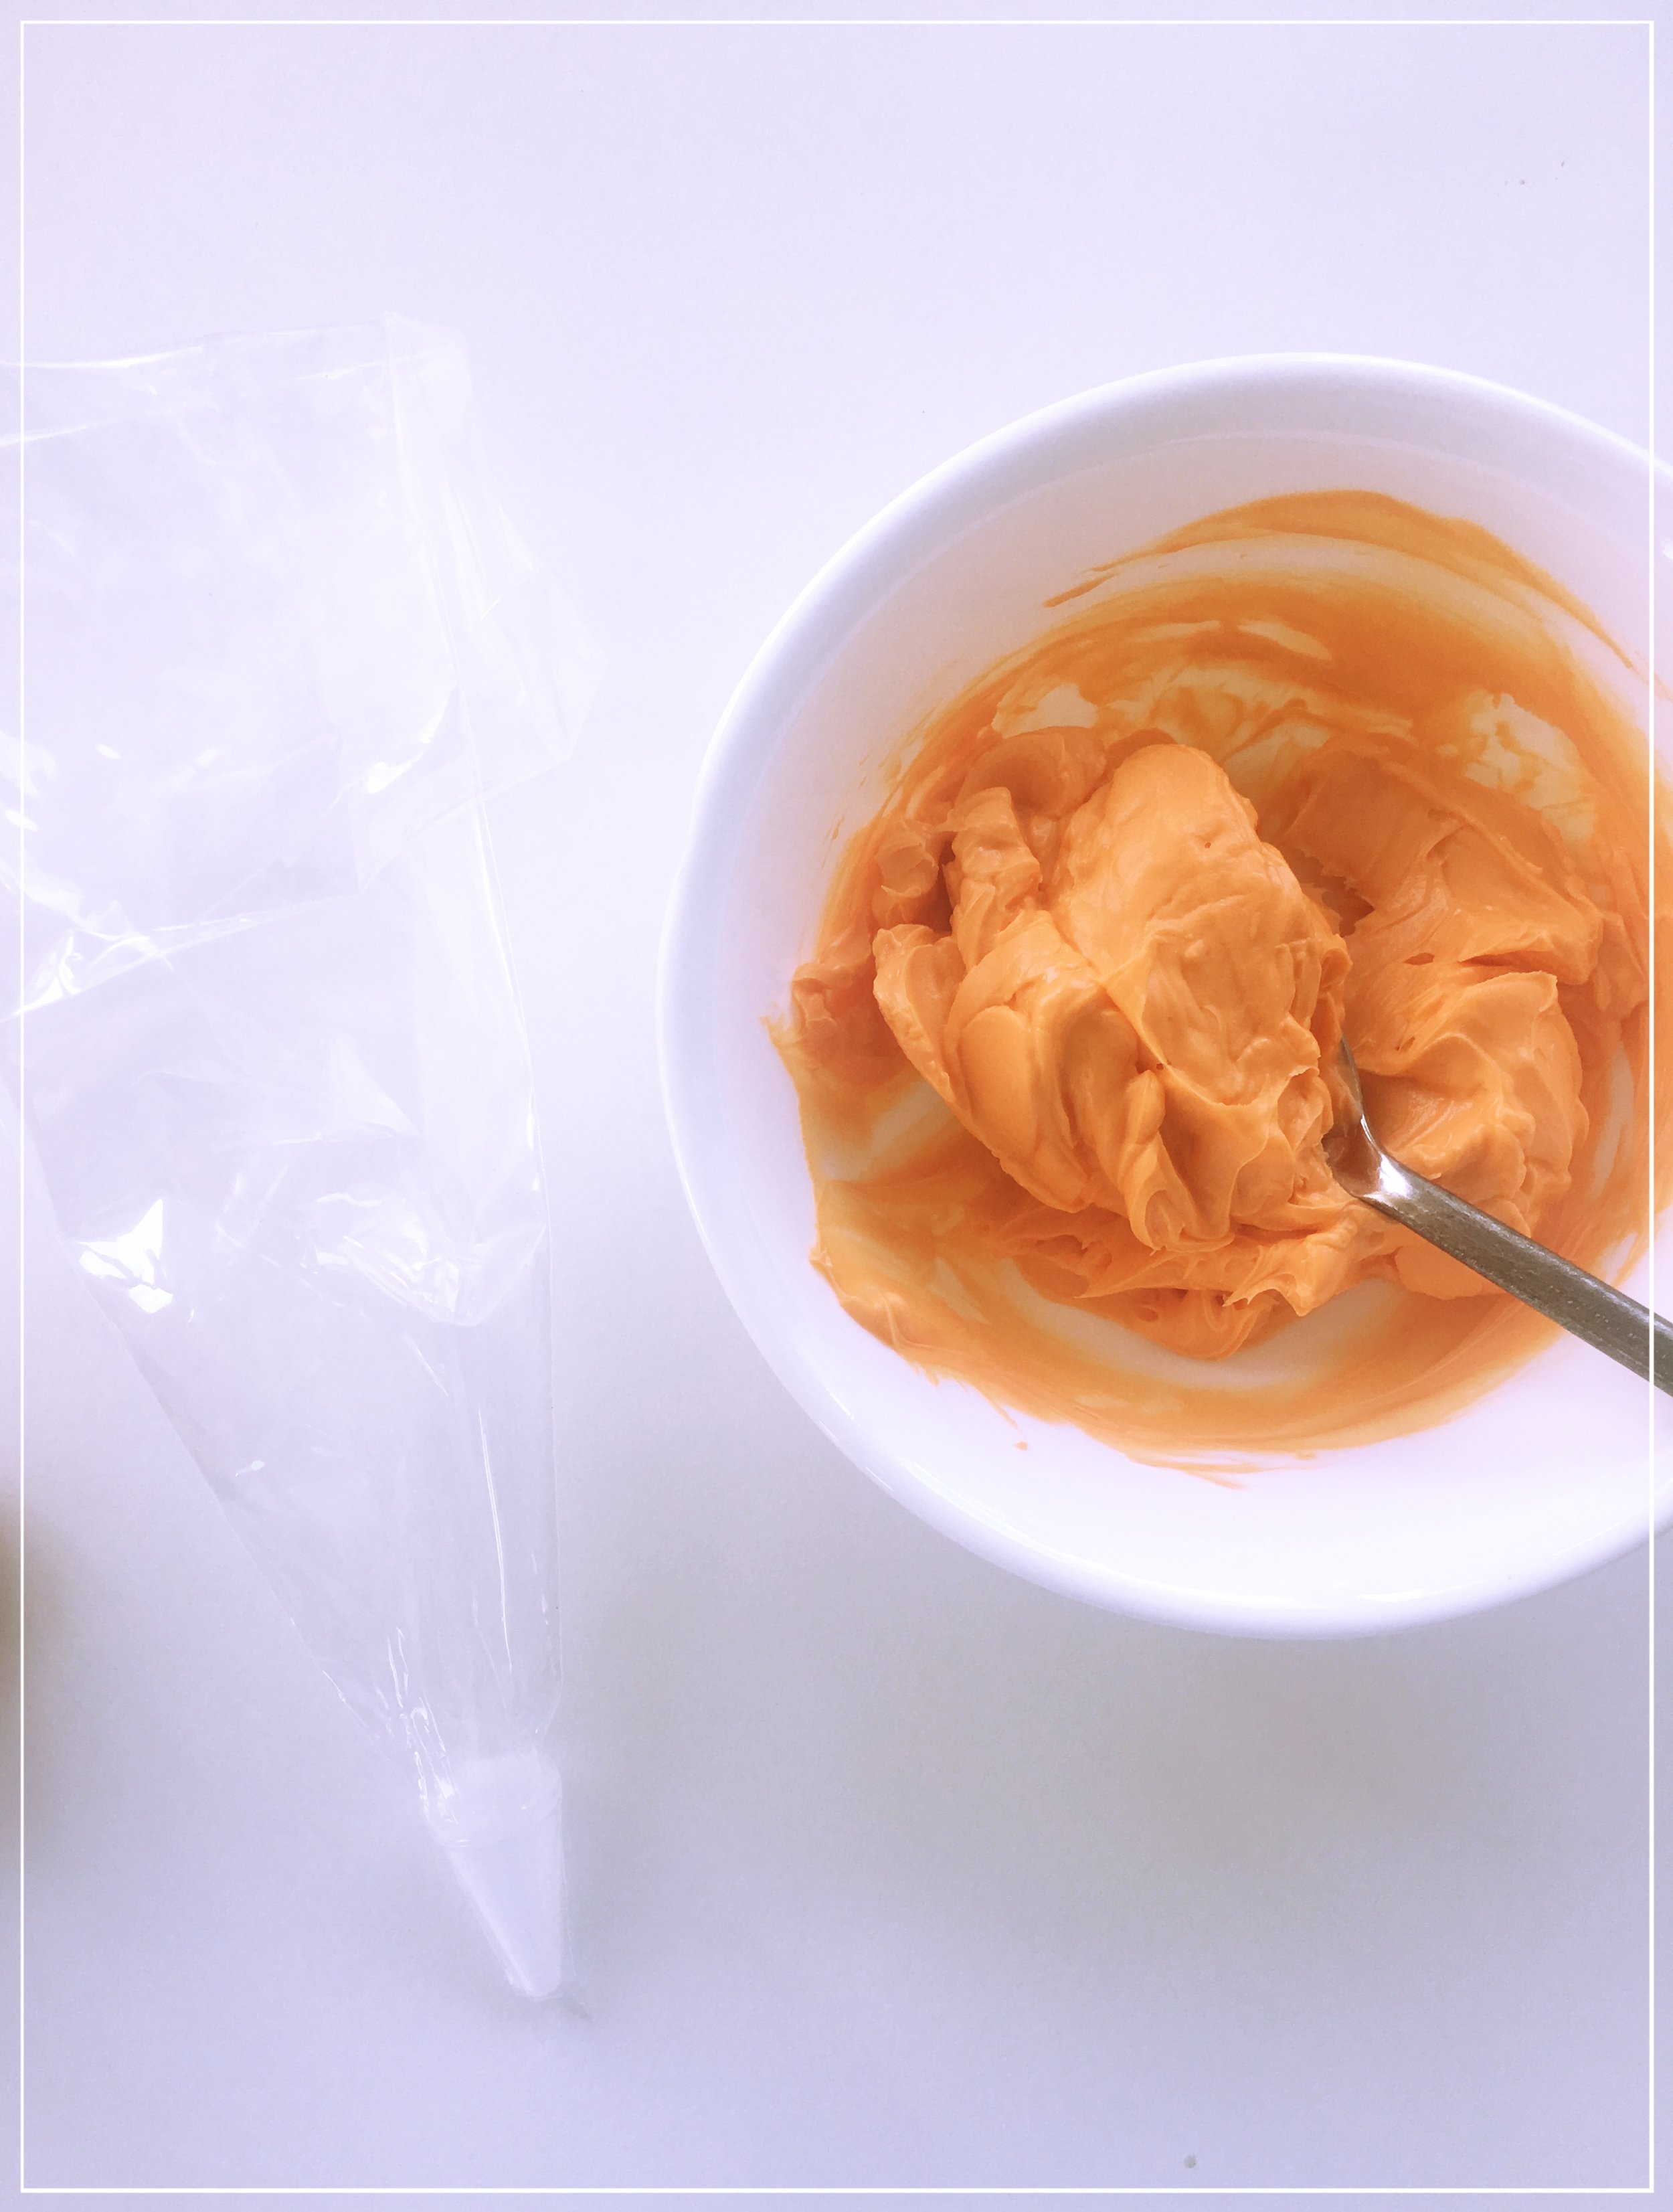
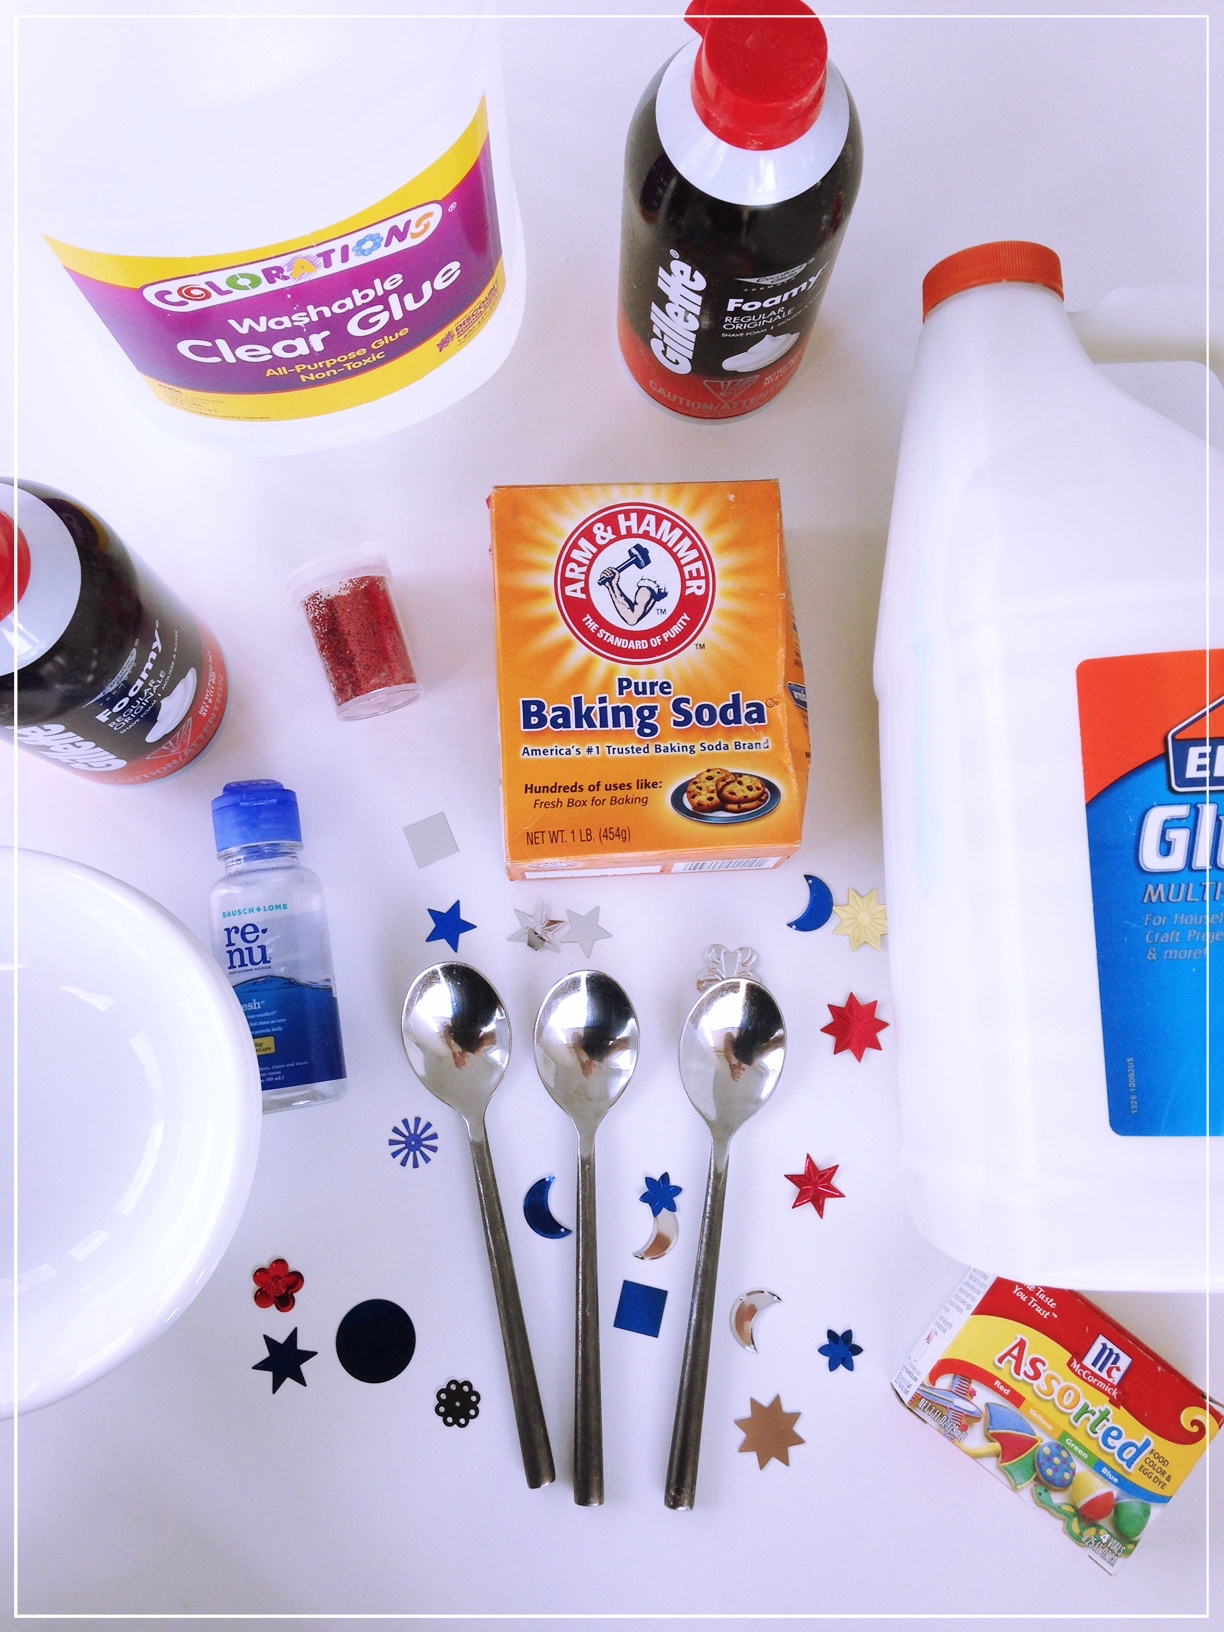
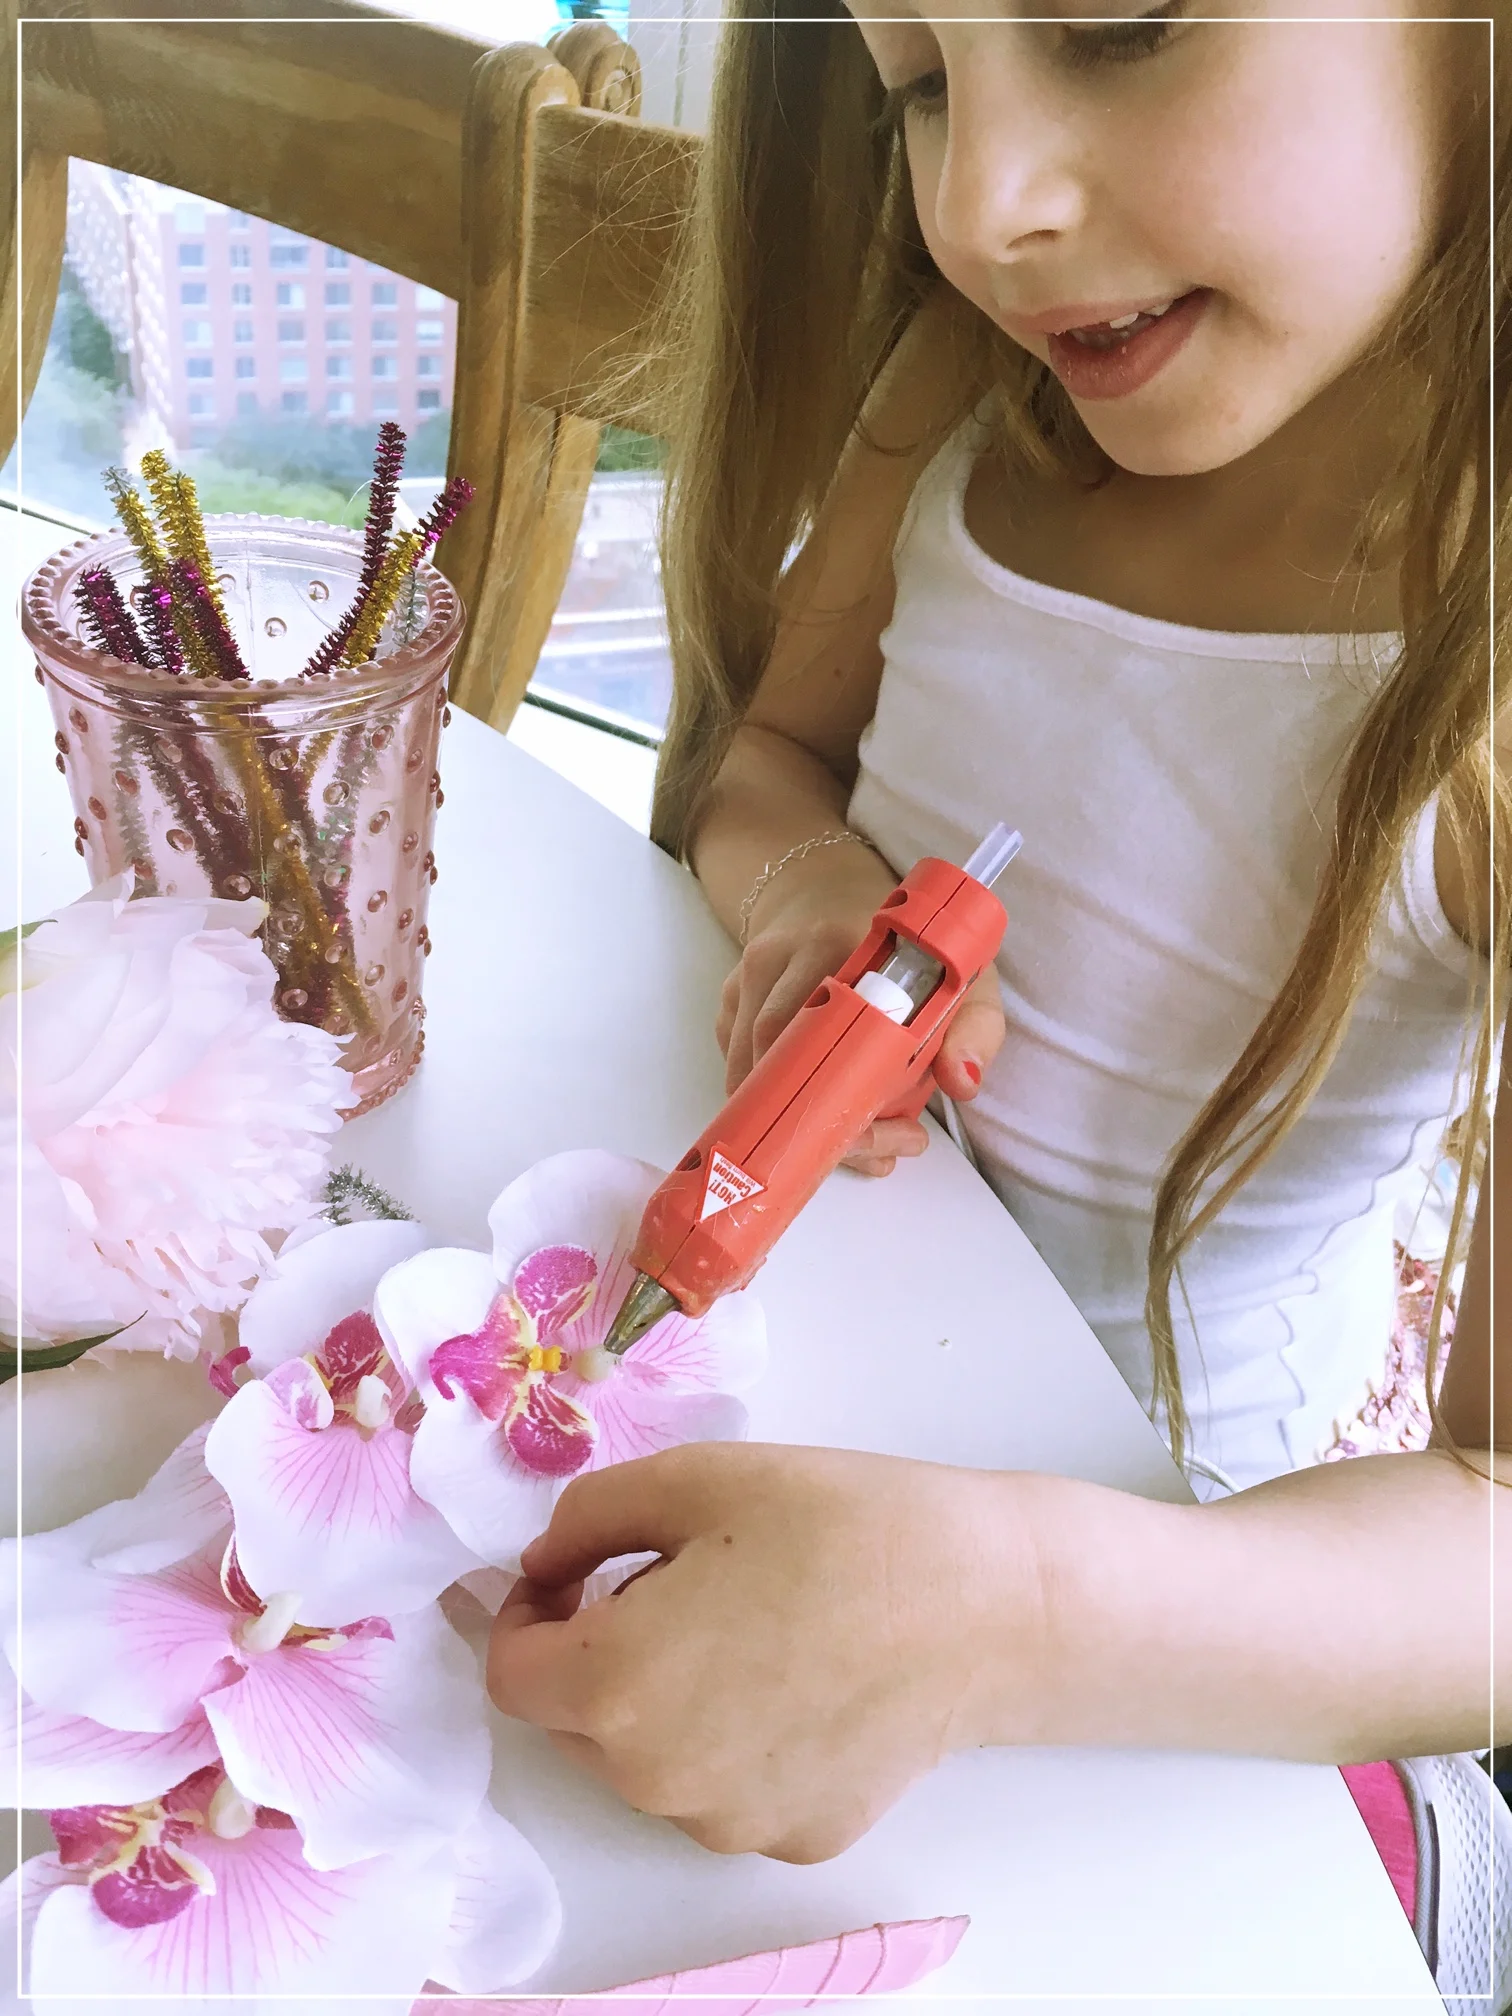
Mom will love this handmade Tin Pail craft gift! All you need is a small pail.  If you don’t have time to order supplies, don’t worry! Ask the kids to find things around the house to make them. They can use yogurt containers or sauce jars!  Then have the kids decorate them with paint, glitter… Then have them glue on some gems or even ribbon. It is so fun to make and there are so many ways she can use them! I love the idea of planting seeds for mom, like lavender! Or since many moms are working from home, make her a pen or pencil organizer! Or even for makeup brushes… The ideas are endless.

Screenshot 2020-05-01 23.17.01.png

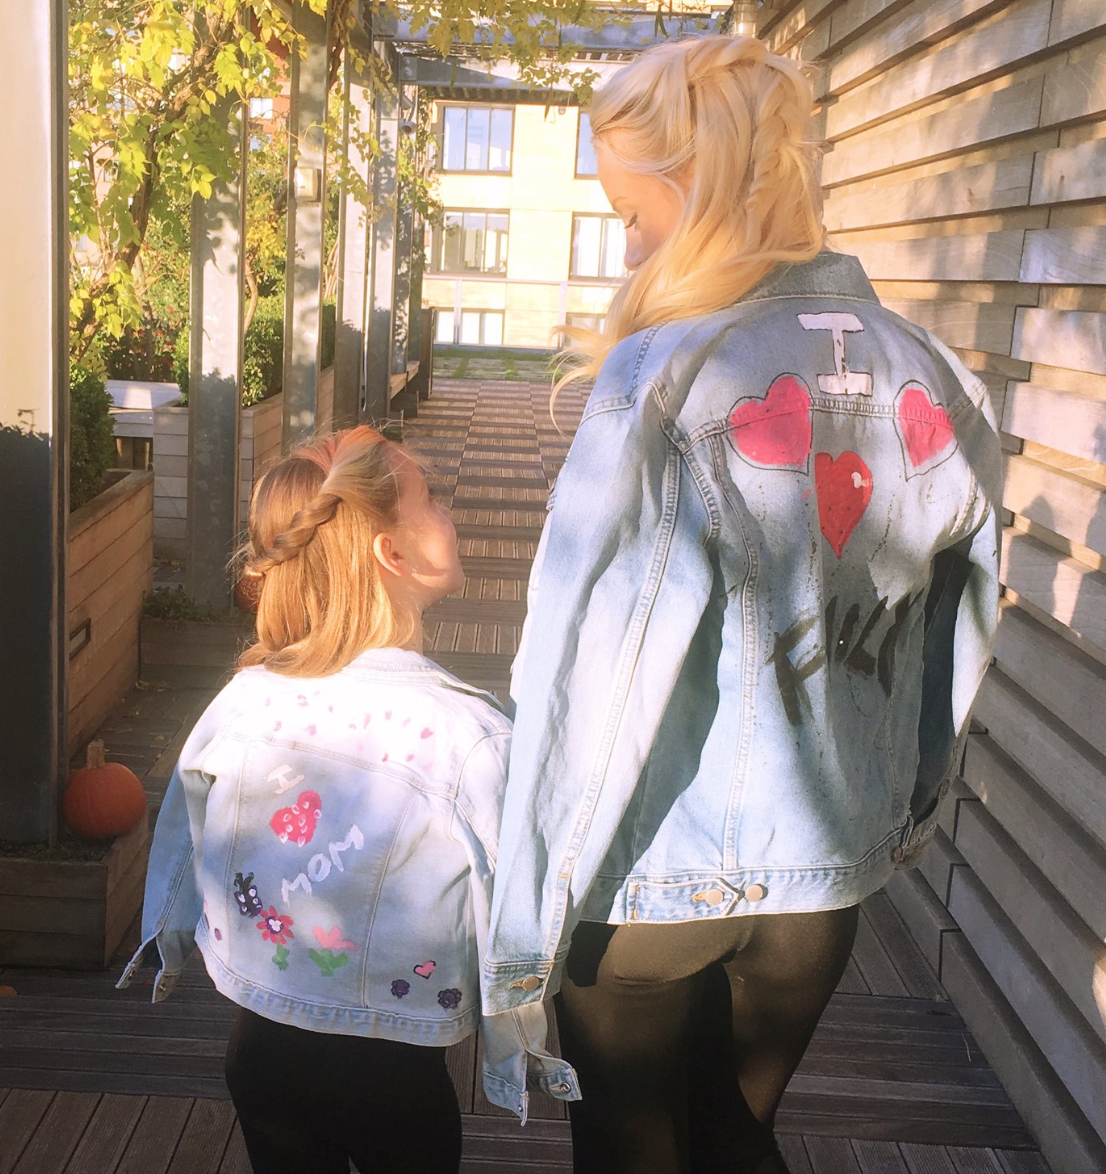
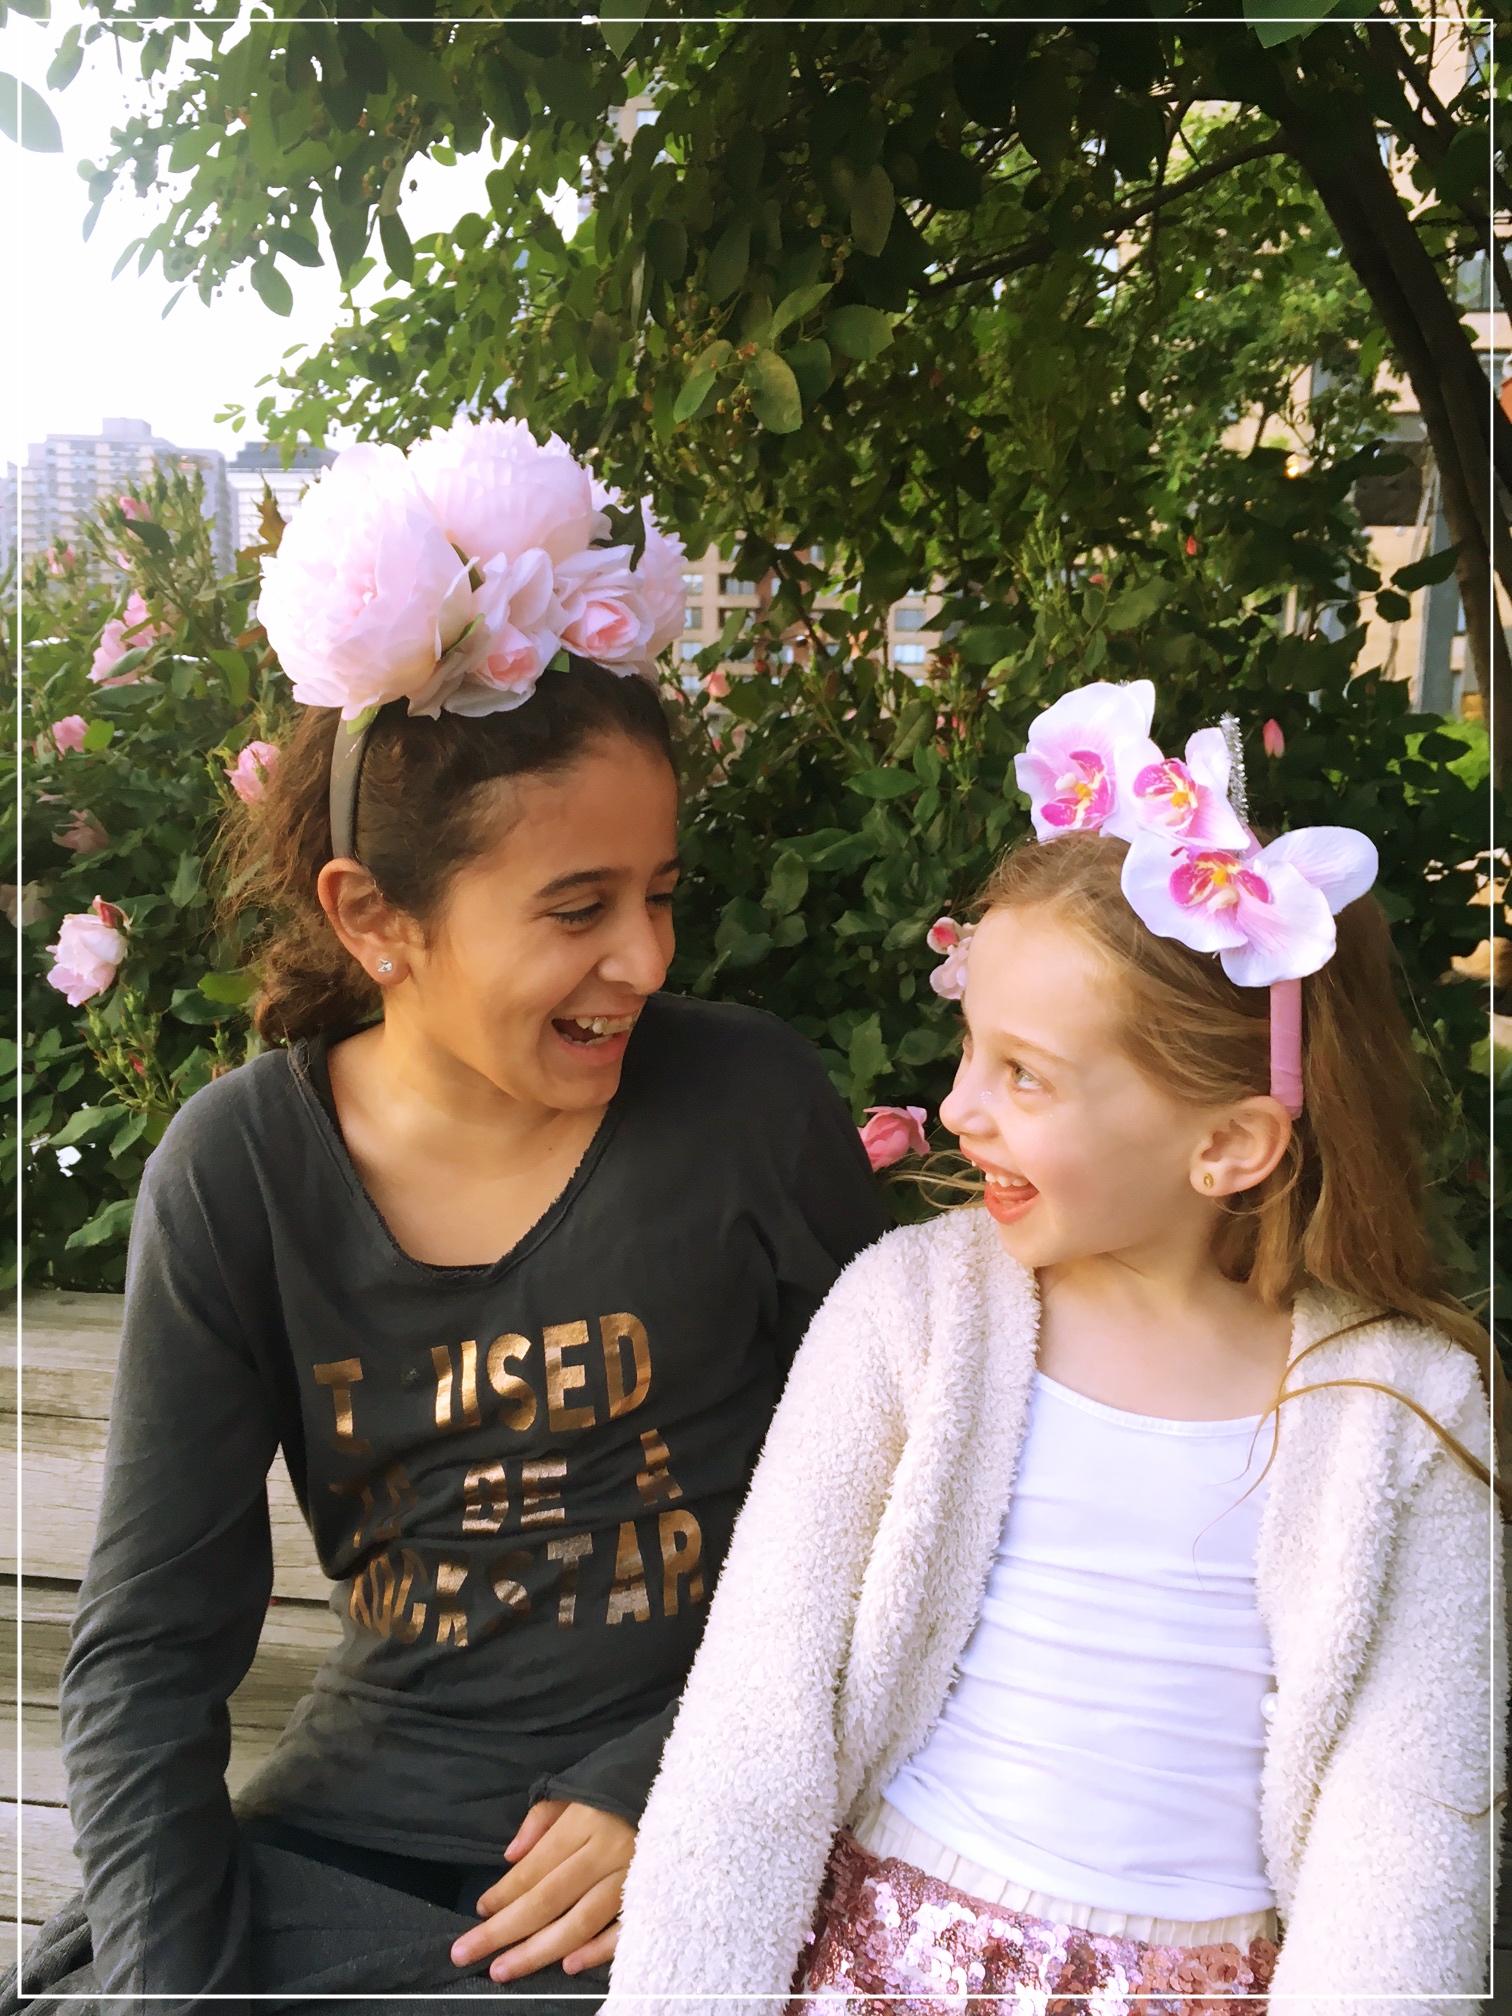
Next is this super cute mommy and me jackets! This is a great idea to do together or even make for grandma! Get as creative as you like! Find some old denim jackets and refresh them for Spring! Grab the fabric paint and have fun. I think handprints would be cute... we did matching hearts and rainbows! Make something fashionable and meaningful… I know all moms will love this. I do, I can’t wait to wear mine. Also, a great gift idea for grandma!

Ok, so if you want to order mom that perfect gift here are some great ideas for you!

Screenshot 2020-05-01 23.23.57.png

Give her some home beauty! Self care is super important right now. I absolutely love Wander Beauty. It’s all natural and they have perfect gifting kits. Look at this You are Wanderful Kit. Perfect for mom! We all could use these gold under eye masks! (You're Wanderful Kit is $22 but is currently on sale for $19. They are still shipping with the exception of Hawaii, Alaska, and Canada due to COVID-19. ) https://www.wanderbeauty.com/youre-wanderful

Herb_Garden_Angle_Plants.jpg

Another great gift for mom right now is bringing a little outdoors inside! I love this at home herb garden! Mom can grow all her own healthy herbs herself which is more important now than ever.. I love this one by With My Bare Hands... They are handmade in Brooklyn with sustainable materials. Plus it’s super chic and beautiful. Bring the outdoors in never looked so good. (herb garden from With My Bare Hands is $85. They have other items ranging in price from $15 to $100 so there are options.)

https://withmybarehands.com/shop/21887138/planters

Screenshot 2020-05-01 23.24.19.png

Last is a baking kit by Red Velvet. We all know we have been spending a ton of time in the kitchen. Well this time the treat is for Mom! Ok, these kits are my favorite! I actually gift these at my annual holiday party and they are a huge hit… but now more than ever, these pre-packed kits are essential. Find the joy in creating something delicious. They have cakes, cookies, tartes. You can’t go wrong and the best part is that it comes with everything you need! It’s the perfect way to enjoy Mother’s Day this year…FROM HOME!! (Price from $25-35)

https://redvelvetnyc.com/collections/desserts

Craft and Recycle all at once with these awesome Spring Crafts!

Doing something fun and crafty with the kids while we are all sitting at home is the perfect “art therapy”… But I noticed I didn’t have a ton of supplies on hand! Not to worry, I found some really great and crafty ways to use what we all have at home! Garbage!!

IMG_0156.jpg

Spring Wreath made out of recycled egg cartons!

We have been baking and cooking up a storm over here! My older two kids made a batch of cookie dough from scratch all by themselves the other day. Which leaves me with empty packages and so today’s crafts are focused on recycling these items. We will be using egg cartons and cardboard box to make this beautiful DIY Spring Wreath!

Here is what you’ll need:

  • Glue

  • Cardboard

  • Egg Cartons

  • Scissors

  • Paper

  • Markers or Paint

First cut a circle out of cardboard the size you want your wreath to be. Then cut out the center leaving it about 2-3 inches wide.

Then cut out all your egg carton sections. Color or paint them depending on what supplies you have! Then make a few leaves to add for a final touch! Look at how beautiful this turned out!

IMG_4640.jpg
IMG_4643.jpg
IMG_4645.jpg
IMG_4650.jpg
IMG_4648.jpg
IMG_4685.jpg
IMG_4687.jpg

Spring Picture Frame DIY

Next, we are making this super kid friendly DIY picture frame! I am sure the kids are drawing and coloring a lot these days as mine are so capture these creations in this picture perfect frame!

IMG_0171 2.jpg

Here is what you’ll need:

  • Cardboard

  • Ruler

  • Scissors

  • Paint

  • Markers

  • Glitter or Gems

  • Glue

Start by cutting out two squares the same size! Mine are about 6 inches by 6 inches but you can make them any size, big or small, that you want!

Then cut three 3/4 in strips of cardboard and glue the strips to the inside edges of one square. This will leave room for you to add the picture or drawing in the frame later. Then take the other square and cut the center out leaving a 2 inch frame.

Decorate the boarder as fun and creatively as you can! We used model magic to make these cute bunny shapes in time for Spring and Easter… Then used paint and glue with glitter to decorate the rest. Brinkley then drew a beautiful rainbow drawing for the frame. I love it and will cherish it forever.

IMG_4652.jpg
IMG_4655.jpg
IMG_4661.jpg
IMG_4667.jpg
IMG_4669.jpg
IMG_4671.jpg
IMG_4672.jpg
IMG_0168 2.jpg

Counting and Sorting Egg Carton

While the kids are being homeschooled, mine are starting this next week, it’s important not to forget the little ones! Brent is so excited about counting and numbers so to keep him working on this and make learning fun, I make him this cute rock sorting game. Counting and colors make this fun for little learners!

IMG_0167 2.jpg

Here is what you’ll need:

  • Egg Carton

  • Paint

  • Rocks (beans or candies work too! Use what you have!)

Paint the egg carton and assign each area a number. Then paint the number of rocks according to that number. It is that easy!

IMG_4677.jpg
IMG_4678.jpg
IMG_4680.jpg
IMG_4682.jpg
IMG_0160.jpg

DIY Leprechaun Playdoh (with what you have in your pantry)

IMG_5262.JPG

It’s so hard to say “Happy” anything right now… we are all feeling it. I wanted to bring joy to this day! So today Brent and I celebrated St. Patrick’s Day with this fun and easy DIY Leprechaun Playdoh. We spent time together, we connected, we created and played.

IMG_5273.jpg

We made memories and that was the goal for today. Just say thank you to everyone around you and appreciate being together.

This recipe comes from what you have at home already.

Here is what you’ll need:

Screenshot 2020-03-16 23.52.44.png
  1. 2 Cups All purpose Flour

  2. 3/4 Cup of Salt

  3. 2 Cups of Water

  4. 2 Tablespoons Oil (Use whatever oil you have in the pantry… cocoanut, olive oil…)

  5. 4 Teaspoons of Cream of Tarter (Or cornstarch or nothing if you don’t have it!)

  6. Food Dye - As many drops as you want!

  7. Play coins or real ones if you are feeling generous

Mix the dry ingredients over low heat. Then add in the water, oil and food coloring. When the mixture starts to turn to doh, take off the heat and keep mixing.

Place in a bowl to cool! Then add the play coins for added fun! Great for sensory, discovery and counting!

IMG_5265.JPG

Halloween Tie-Dye Pajamas

IMG_4415.JPG

Get into the Fall spirit with this fun and simple craft. Plus the weather is still nice enough to be outside! Who says the fun has to stop when Summer is over… We are bringing Tie-Dye to the Fall season in style! I don’t see this trend ending anytime soon.

Do you love having the kids in matching pj’s for the holidays? Me too! That is why we decided to make our own DIY Halloween Tie-Dye Jammies!

Brycen wanted his to be “cool” and spooky ghost BOO!! Brinkley and Brent wanted to make theirs look like their favorite Halloween treat, candy corn!

Check out how fun and easy.. and CUTE these adorable Halloween PJ’s turned out!

IMG_4381.JPG
IMG_4352.JPG

First you will need to get your supplies! My kids love regular cotton long John type pajamas so I ordered them off amazon in their sizes. Then I picked up black, yellow and orange tie-dye from the craft store.

IMG_4314.jpg
IMG_4326.JPG

Once you have all your materials you can get started!! Make sure you are in a safe area to tie-dye like outside. Then I let the kids help me with tying the rubberbands around the pajamas. For Brycen’s we just went for the traditional spiral twist look leaving a bit of the front white for the Ghost face. And Brinkley’s and Brent’s had the simple line cut offs so we can do the three colors of the candy corn. See pictures below to help guide you.

Since Brycen really wanted something a little different than his littler siblings and since he’s a 10 year old boy I totally get it!! I wanted to make his cool and something he’d actually wear. So we came up with the Ghost Face tie-dye look. All you need to do is take your twisted and ruberbanded pajamas and the black tie-dye. Then go for it!! I let all the kids help with this one and they loved it.

For the Candy Corn design you need to be a bit more careful. I love letting the kids do it themselves but Brent needed help to keep the right colors in the right spots. Brinkley totally took over and made her’s totally herself. The hard part is keeping the white part, well… WHITE!! It may sound easy but actually that was the only thing we noticed was a bit tricky. If a few spatters of the other colors get on there don’t worry! It’s all part of the fun!! It will still look adorable once they have them on for Halloween. Trust me! The trick is to lay them down a towel that can absorb the tie run off so that it won’t bleed onto the white area.

Collage_Fotor tie dye black.jpg
Collage_Fotor halloween pajamas tie dye.jpg

Then you let them soak over night. Wash the next day separately! Let the kids take the rubber bands off and enjoy! This is such a fun experiment and the kids will be so excited to wear these festive jammies all the way through Thanksgiving!

For the Ghost Pajamas all you need is a black sharpie or black fabric marker to draw the face!

IMG_4345.JPG
IMG_4342.JPG
IMG_4367.JPG
IMG_4373.JPG

Father's Day Mosaic

3857034346033084793_IMG_3223.JPG
-8846701997362548896_IMG_3222.JPG

Your kids will love this super fun craft and your husband will love receiving it on Father’s Day!

I was inspired by all the cool cement crafts and DIY’s I was seeing and knew I wanted to make something with cement for a Father’s Day gift! It’s such a cool medium to work with and surprising easy! Who knew?!

IMG_3526.JPG

All you will need is:

  1. Mosaic Cement powder mix

  2. Water

  3. Disposable spoon or stick for mixing

  4. Stones or Gems for decorating

  5. Mold (silicon mold worked perfectly)

First you’ll want to make sure you have all your supplies handy since you are working with a material that can dry rather quickly. Also, I recommend making this outside so avoid any cement accidents in your house!

-4568391006928442750_IMG_3228.JPG

Then you will start by mixing the cement. I did this right in the silicon mold so I didn’t need to pour it from one bowl to the other. I added the powder and slowly stirred in water until it’s like a thin paste. Once this is done you can start decorating! I love how the kids came up with making a “D” for dad out of the stones! Just wait over night to remove from mold.

-5179226304546297494_IMG_3230.jpg

How cool did this turn out! I know he will love getting such a cool gift and it’s something perfect for the office or even placing it in the garden in you have one!

Christmas Wrapping Paper DIY

DIY Wrapping Paper 10.jpg

The kids will LOVE this craft! And you will love saving all that money on expensive wrapping paper!

The best part about the holidays is being with the family. We love crafting and love making a day of it at home. I just love that Brent is getting old enough to join in on all the fun too. That’s why I came up with this fun holiday craft. It is great for all ages and can be as elaborate or not as you want!

DIY Wrapping Paper.jpg

Most of us spend tons of money on expensive wrapping paper that all goes into the trash bin right after, but this craft is so much fun to create and makes receiving that present so much more special. Who won’t love getting a gift wrapped in paper made by the kids! I can already see Grandma’s face lighting up!

DIY Wrapping Paper 1.jpg
DIY Wrapping Paper 4.jpg
DIY Wrapping Paper 5.jpg
DIY Wrapping Paper 6.jpg
DIY Wrapping Paper 8.jpg

All you need is a large roll of butcher paper or craft paper, stickers, markers and stamps! You can also do glue and glitter if you want to add a little sparkle!

Here is what I used:

DIY Wrapping Paper 3.jpg
  1. Butcher Paper

  2. Holiday Stickers

  3. Holiday Stamps (toddler friendly)

  4. Red & Green Markers

I’ve been taking this craft along with me everywhere, from playdates to pre-dinner entertainment! The kids all love gathering around the large blank canvas and creating!

wrapping paper 3.jpg

To get started, simply roll out the large piece of paper. Make sure the kids have enough space to make a section it their own. Then put out the supplies all along the middle of the paper. The kids will gravitate toward what they want to use to make it their own. Give them options to mix and explore using the different materials. My daughter loved using the makers to write messages and draw holiday theamed shapes. Where Brent was more drawn to the stampers and stickers!

wrapping paper.jpg

How cute did it turn out!?! I also love having the kids help with the wrapping. We can’t wait to give out all our gifts with this special touch! Happy Holidays!

DIY Wrapping Paper 11.jpg
DIY Wrapping Paper 12.jpg
DIY Wrapping Paper 14.jpg

Create Your Own Felt Christmas Tree

Felt Christmas Tree DIY 23.jpg

I thought I had an original idea when I planned this a few months ago… It started as a DIY gingerbread house and then turned to a tree when I realized that it would be way more fun for the kids to decorate and create each ornament. However, I have seen the pop up ads on social media for pre-fab kits for this. But be warned! The fun is in the creating! My kids enjoyed creating the ornaments and tree all by themselves! The joy and pride they have after creating something is so amazing to watch and if your family loves crafting like we do, then make it yourselves! It was so easy and will probably cost less.

Felt Christmas Tree DIY 19.jpg

Here is what you’ll need:

Felt Christmas Tree DIY 10.jpg
Felt Christmas Tree DIY.jpg
  1. 1/2 Yard green felt

  2. 4x4” squares of mixed colored felt

  3. Googly eyes & pom poms

  4. Felt Glue

  5. Velcro Dots or Strips

  6. Scissors

  7. Ruler

  8. Chalk

Felt Christmas Tree DIY 1.jpg

To begin this craft you’ll need to cut out the large Christmas tree. Fold the green felt in half. Then use the chalk and roller to map out the shape. Then use sharp scissors to cut out the tree.

Felt Christmas Tree DIY 13.jpg

Place out the colored felt for the kids. Brainstorm ideas on what ornaments. This was the fun part! I helped them create whatever holiday shape that popped into their heads! From Rudolf to candy canes, we made them all!

Felt Christmas Tree DIY 6.jpg
Felt Christmas Tree DIY 9.jpg
Felt Christmas Tree DIY 15.jpg
Felt Christmas Tree DIY 17.jpg
Felt Christmas Tree DIY 26.jpg

Then simply place one side of the velcro on the tree where you’d like to “hang” your ornaments. Make sure to put enough up for all the ornaments the kids have created! Spread them out so each one has room to shine! Then put the other side of the velcro on the backs of all the ornaments.

Felt Christmas Tree DIY 29.jpg
Felt Christmas Tree DIY 14.jpg

Use the velcro dots or strips to hang the tree on the wall. I used a ton to get this to stick to the wall snug enough so the kids could play with with it and take the ornaments on and off! Such a fun interactive holiday decoration. Enjoy and happy holidays to you and your family! The star on top is my favorite part!

Felt Christmas Tree DIY 30.jpg

DIY Candy Corn Waterbottle

DIY Candy Corn Waterbottle7.jpg

One of our favorite things to do at home is crafting and with Halloween right around the corner I knew we had to do something fun and unique! My kids actually don’t love the taste of pre-packaged water so we are always using reusable waterbottles or jugs at home. The kids always bring their favorite one to school, the park or just to use at bedtime.

So we decided to make this fun craft to look just like our favorite Halloween candy, Candy Corn! And will use it all October long!

What You Will Need:

DIY Candy Corn Waterbottle.jpg
  1. White Reusable Water Bottle

  2. Paint of your choice

  3. Paint Brushes

  4. Glitter (Golden Yellow, Orange and Silvery White)

  5. Mod Podge

  6. Halloween Festive Stickers

First lay out a plastic lined table cloth to help with containing the mess. Glitter can get everywhere and this will help with clean up!

DIY Candy Corn Waterbottle 9.jpg
DIY Candy Corn Waterbottle11.jpg

Then, layout all the materials on a plate, I even added a cute little white pumpkin for them to decorate while they were at it!

DIY Candy Corn Waterbottle 2.jpg

Plus, I of course had some yummy Candy Corn on hand to get them in the spirit!

Then help them with the spacing of the colors starting with yellow at the bottom, then the middle section in orange and the top in white.

DIY Candy Corn Waterbottle 3.jpg
DIY Candy Corn Waterbottle 4.jpg

The glitter can be sprinkled right onto the wet paint.

DIY Candy Corn Waterbottle 5.jpg

They added their own personal touches such as writing their names, adding candy corn stickers and just the right amount of glitter, and finished it off with a thick coat of water proof Mod Podge.

DIY Candy Corn Waterbottle 0.jpg

Let dry over night and clean properly before use.

DIY Candy Corn Waterbottle8.jpg

Make Your Own Unicorn Bark

unicorn bark0.jpg

What could be prettier than pink and purple chocolate covered in glitter!?!
Summer days call for tons of arts and crafts so I put together this fun do-it-yourself Unicorn Bark craft for Brinkley. 

It's fun and whimsical. Perfect for your girly girl! Even Brycen got in on the action. Who can resist a sweet treat, right?!

unicorn bark1.jpg

Well, here is how to make this amazing creation! So easy and the kids will love it!

unicorn bark2.jpg

Here is what you'll need:

  1. Colored Chocolate Melts (Purple, Pink, White, Teal)
  2. Edible Glitter and Sprinkles to match Colored Chocolate
  3. Cookie Sheet with tin foil 
  4. Non-stick spray
  5. Spatula
  6. 4 Medium Size Bowls
  7. Fork
  8. Unicorn Toy

First, start by covering the cookie sheet with tin foil. Then spray on the non-stick spray. 

unicorn bark3.jpg

Place the chocolate melts in separate bowls. Microwave melts until they are completely melted. I like to put them in for 30 second increments. Keep stirring them in-between the 30 second cook time until they are complete melted. Don't over heat the chocolate! 

unicorn bark4.jpg
unicorn bark5.jpg

Once the chocolate is melted, begin to layer in strips onto the cookie sheet. 

unicorn bark 3.jpg
unicorn bark 5.jpg
unicorn bark 4.jpg

Use the spatula to combine the colors together gently wiggling the spatula to create waves in the chocolate. Try not to over mix. You want to see the colors and not combine them too much.

Then use a fork to create spiraling patterns in the chocolate. Swirling the chocolate will definitely create a magical effect. Don't miss this step!

unicorn bark 7.jpg

The fun part is next! Adding the sparkle!!! Let your child have fun with this. Brinkley used the same color on each chocolate color. I love how this came out! Don't you?!! But this can be up to your little one to make it how they like! And taste testing is a must! 

unicorn bark 8.jpg
unicorn bark7.jpg

Once your masterpiece is created, let the chocolate cool and dry. This should take less than an hour. It will become hard and here is when my son stepped in! To smash the large block into smaller bite-size pieces. My kids just went for it and dropped the chocolate block over and over again until completely broken. See how happy they are... Enjoy! 

unicorn bark 2.jpg
unicorn bark 6.jpg

RED, WHITE & BLUE Sensory Rice Bin

RIce DIY 8.jpg

I just love kid friendly crafts and what better time to make one than this 4th of July with this bright and colorful RED, WHITE & BLUE Sensory Rice Bin!

RIce DIY 6.jpg

If you have little kids or are just entertaining families who do, well, this is the perfect craft for you!  Having a very busy toddler of my own, I am always thinking of exciting new ways to keep him entertained. But this craft is not only great for pre-schoolers. My7 year-old daughter got in on the fun too! 

RIce DIY 10.jpg

Kids will just love this DIY craft and it is so easy you will love it too... it takes only minutes to prepare!

Here is what you'll need:

Rice DIY.jpg
  1. White Rice (uncooked)
  2. Distilled Vinegar
  3. Food Coloring
  4. 2 Large bowls and spatulas for mixing
  5. Measuring Cups and Spoons
  6. Large Bin for playtime

First, start by measuring out your rice. I used 3 cups of rice.

RIce DIY 2.jpg

Then add 2 tbls spoons of vinegar. Start out by adding 7-10 drops of food coloring. Combine.

RIce DIY 3.jpg
RIce DIY 4.jpg
RIce DIY 5.jpg

Add more food coloring as needed.  Let try for at least 1 hour. If you have time, let dry overnight to avoid any color from getting other hands.

Repeat in separate bowl for different colors.

Finally, add the rice in rows in a bin for the kids to mix and play with! Add fun sand toys like scoops and funnels. The kids will have blast with this!

RIce DIY 9.jpg

*TIP- To avoid a messy situation, use in the grass. The kids will inevitably pour some out of the bin during play time! If doing indoors, place a large mat under the bin for quick and somewhat easy clean up! 

Enjoy XO


No Melt Edible Ice Cream Playdoh

No Melt IceCream Playdoh 16.jpg

Wait, what?!! No melt ice cream? Yes, it's true and the kids will love playing and rolling this mixture much like they would with actual playdoh! 

So, my kids have watched their fair share of youtube videos and this is something my daughter has been asking to make all school year long! Now that the sun is shining and we are spending our afternoons and even evenings outside enjoying the weather, I knew it was the perfect time to test out this theory! 

No Melt IceCream Playdoh 9.jpg

I haven't seen the videos that she's watched but I knew the mixture is pretty much icing (store bought) and a TON of confectioners sugar. What's not to love about that!

No Melt IceCream Playdoh.jpg

So here is what we did:

  1. Start by emptying an entire jar of the store bought cake icing into a medium size bowl
  2. Begin to mix in the confectioners sugar slowly. We used a silicone mixing spoon to combine but you can also do this in your stand mixer.
  3. Continue to add the confectioners sugar slowly until you get the desired consistency which is a thick non-sicky dough. 
  4. The kids can then add in their favorite colored sprinkles. Get creative! Use what you have at home! Nonpareilles work great or even try an edible glitter available at most craft stores in the cake decorating isle.
  5. Let the kids play with the mixture, roll it around and have fun adding the sprinkles! 

*Note- to make colored dough don't add food coloring it will become too sticky, just buy colored icing and follow the same directions!

No Melt IceCream Playdoh 7.jpg
No Melt IceCream Playdoh 4.jpg
No Melt IceCream Playdoh 10.jpg
No Melt IceCream Playdoh 19.jpg
No Melt IceCream Playdoh 13.jpg

Then, to enjoy this treat, we stopped onto colorful ice-cream cones! This is perfect for outdoor fun in the summer, birthday parties or barbecues so you can pre-make them and not worry about them melting! 

No Melt IceCream Playdoh 20.jpg

Everyone will love the fun and whimsy of this summery sweet treat!


Mix Medium Valentines Day Painting

Valentines Day Multi Media Art Project 21.jpg

Love in the air! Set up a fun, beautiful and unique Valentine's Day craft that you will all enjoy! Why just make something to make it? Make a masterpiece with this stunning mix medium creation. 

Valentines Day Multi Media Art Project 3.jpg

I had a ton of acrylic paints in the cabinet just sitting there until I had time to use them (which is NEVER! Let's face it!) 

Valentines Day Multi Media Art Project 2.jpg

Rummage through your craft bin and find some other items to add texture. We used heart shaped glitter, regular glitter and I picked up a jar of glass bead and crackle paste so when it drys the artwork has dimension. I supplied candies, stickers, rose petals and as many things I could find to aid in the creative process. 

Valentines Day Multi Media Art Project 16.jpg

You can also try pieces of tin foil, tissue paper or even actual sand to mix into the paint. Be creative! There is no right or wrong, just have fun and inspire your kids to try out other ways to create art. 

Valentines Day Multi Media Art Project 5.jpg

Here is what you'll need:

Valentines Day Multi Media Art Project 8.jpg
  • Paint (try something out of the norm like acrylic paints or water colors or BOTH!)
  • Canvas
  • Palatte 
  • Paint Brushes
  • Mix Medium Supplies
Valentines Day Multi Media Art Project 19.jpg

Snowball Surprise Toss Game DIY

Tis' the season with this super fun DIY Snowball Surprise Toss Game perfect for the whole family! My kids are still obsessing over slime but what they didn't expect was to find a surprise inside! 

The winter can be long and keeping the kids excited and entertained isn't always easy. I knew I'd have to come up with a great way to make their 2 week long winter break a blast. That's why I created this ultimate slime surprise snowball toss game for them. 

snowball edited 3.jpeg

With two older kids who are super active and a toddler, doing crafts for all ages is tricky. While Brent was napping we created the slime and hit a little holiday trinket in each balloon. Then we added the different slime colors in separate balloons creating our snowballs!

snowball edited 18.jpeg

I set up a little area in the apartment for them to play the game with two metal pails. Each pail was a different point amount. So once all our snowballs were made, they had a blast tossing them and for once it didn't matter who won! The had so much fun sqeezing the squishy snowballs guessing what they thought was in each one. And when were all done playing, I let them open each snowball to reveal the secret surprise inside! Brent loved playing with all the holiday figurines and has been carrying around the pails filled with them all weekend! 

snowball edited 6.jpeg

Here is how to create this with your kids!

What you'll need:

snowball edited 17.jpeg
  • Clear glue
  • Glitter or Glitter Glue
  • Contact Solution
  • Baking Soda
  • White Balloons
  • Holiday or seasonal figurines
  • Tin Buckets
  • Cardboard and Marker

Start by making the slime:

snowball edited 14.jpeg
snowball edited 11.jpeg
  • Start by adding the clear glue to a bowl (4 oz)
  • Then add the glitter - If using glitter glue like we did, add 2 table spoons of the glitter glue to the clear glue
  • Add a teaspoon of baking soda
  • Combine these ingredients
  • Then add a table spoon of the eye contact solution
  • Stir and add more contact solution to get desired consistency 

Then, put the trinket or figurine into the balloon carefully not to puncture the balloon. Then add the slime into the balloon. You will only be able to add about a handful of slime. The best way we found was to have one person stretch open the balloon while the other places it in.

snowball edited 7.jpeg
snowball edited 9.jpeg

Do this for about 8-10 balloons creating your snowballs!

snowball edited 12.jpeg

With the cardboard, make score signs and place inside each tin bucket. 

snowball edited 10.jpeg


Set up a safe play area where they can toss the snowballs into the bucket. I used a soft white fur rug to stage the area for them. 

snowball edited 2.jpeg

Watch them enjoy! Take score if they want and have the winner open his or her snowball first! We divided the balls evenly to keep everyone happy. 

Once the fun is over, after an afternoon or longer, have the kids open the surprise snowballs to reveal their prize!

snowball edited 15.jpeg

Christmas Scented Winter Snowflake Ornament DIY

Snowflake ornament DIY13.jpg

What a fun and beautiful craft to make this holiday season! Gather 'round the tree with this Christmas Scented Winter Snowflake Ornament DIY.

Snowflake ornament DIY11.jpg

Looking for the perfect gift for grandma or need to bring something to your neighbor's tree trimming party?!  Try this simple craft that really makes a statement on anyone's tree. With the added festive holiday scent, it will bring joy all around. A perfect craft for those cold wintery days.

Here is what you'll need:

Snowflake ornament DIY.jpg
Snowflake ornament DIY2.jpg

Then use the molds or cookie cutters to make the shape. Each snowflake is unique and so should these ornaments! 

Snowflake ornament DIY3.jpg
Snowflake ornament DIY4.jpg

Carefully remove the snowflake! Then use a small drop of glitter glue and use the paint brush to gently coat the top and sides with glue.

Snowflake ornament DIY6.jpg

Let the kids get creative by sprinkling on their own choice of shimmery glitter. Or try this beautiful faux sugar crystal sprinkles that I found! They look so good you'll almost think they are real sugar! I also love these little styrofoam balls I found in the DIY slime aisle at Michaels. They add the perfect touch and look just like falling snow.

Snowflake ornament DIY5.jpg

To make this ornament super special and unique we added a few drops of Christmas Wreath scented oil. Who doesn't love the pine tree scent at Christmas time. It fills the room with true Christmas spirit!

Snowflake ornament DIY8.jpg

Use the pointy end of the paintbrush handle to poke a small hole in the snowflake. Simply string a thin white satin ribbon to pull this DIY craft all together creating the perfect shimmery snowflake to hang from the tree! This year and every year to come. *TIP- Let dry flat overnight on a nonstick surface for the best shape.

Snowflake ornament DIY10.jpg
Snowflake ornament DIY12.jpg

Try this craft with just your little snowflakes or make it party with a large group! We are making this with Brinkley's Brownie Troup and I know it's going to be a hit and create memories for years to come.


DIY Jack-O'-Lantern Chocolate Surprise

DIY Jack-O'-Lantern Chocolate Surprise 14.jpg

My kids are OBSESSED with the little surprise eggs that our local market sells. Everyday after school they want to go and get one and they barely eat the candy and but they love getting the surprise inside. But they LOVE getting the surprise and breaking open the chocolate. So this Halloween I wanted to make them a little surprise just for them with this DIY Jack-O'-Lantern Chocolate!

I love surprising the kids with fun treats and this Halloween I decided to make them an exciting dessert that they won't forget!

I love candy corn and I know not everyone does but my kids do! They must take after me:)
And every halloween season I have a ton of it around the house. And they ask for it for dessert almost every night. It's a good bargaining trick to make them eat all their dinner!

So filling the chocolate with candy corn was not only festive but also something I know they'd love. Your kids not a fan? Don't worry you can try any  Halloween themed candy that they love.

To make this sweet treat here is what you'll need and I've linked what I used:

DIY Jack-O'-Lantern Chocolate Surprise.jpg

First you'll want to wash and prepare the molds. Make sure that the mold is clean and dry before starting. Then you'll need to melt the chocolate chips in a bowl. I just microwave the entire bag for 60 seconds. Then stir. And if needed I will do a another 20 second increments until it's totally melted. Don't over heat the chocolate!! It's better to melt slowly than to burn the whole batch!

DIY Jack-O'-Lantern Chocolate Surprise 2.jpg

Then you will carefully fill each mold. The trick is to make sure the chocolate is not super runny when filling the molds since you will need scoop out the middle. Once the mold is full, you'll need to shake out the mold to remove any air bubbles. Pop the bubbles with a toothpick or the tip of a pointy knife. Then spread the inner chocolate out to the sides shallowing out the middle of the pumpkin shape. You can use the back of your spoon to do this. Making sure that the sides are as thick as the middle section of the pumpkin shape.

DIY Jack-O'-Lantern Chocolate Surprise 5.jpg
DIY Jack-O'-Lantern Chocolate Surprise 6.jpg

Let harden for about 1-2 hours. You can leave longer but don't rush it! The center takes the longest to harden and you won't know it's not completely hardened until it's too late! So be patient!

Once the chocolate hardens you can carefully remove the shapes from the mold. Place a small handful of candies into one side of pumpkin shape.

DIY Jack-O'-Lantern Chocolate Surprise 4.jpg
DIY Jack-O'-Lantern Chocolate Surprise 3.jpg
DIY Jack-O'-Lantern Chocolate Surprise 8.jpg

Then melt a second smaller batch of chocolate chips. Fill this melted chocolate into the piping bag or zip lock. Place two sides together with the candies inside and carefully bond the two together with the melted chocolate. Wipe any excess off with your finger or the back of a spoon.

DIY Jack-O'-Lantern Chocolate Surprise 7.jpg
DIY Jack-O'-Lantern Chocolate Surprise 9.jpg
DIY Jack-O'-Lantern Chocolate Surprise 12.jpg

Let harden again for at least an hour and then enjoy! The kids were so thrilled to get their chocolate Jack-O'-Lantern dessert!!

DIY Jack-O'-Lantern Chocolate Surprise 15.jpg

Super Sweet DIY for Grandparents Day!

grandparents day8.jpg

Nothing is more important than making grandparents feel special and this day is here to celebrate them! Everyone loves grandma and grandpa and this adorable surprise will let them know how sweet they are.

They will love receiving this special keepsake from their beloved grandchildren. And will enjoy it for years to come!

grandparents day5.jpg
  1. Simply start by adding a quarter size amount of glue on the palm of the child's hand. I love the purple glue by Elmers because it lets you see where you are putting the glue and dries completely clear!
  2. Then have the child place their hand on a piece of paper leaving there pint sized handprint on the paper. 
  3. Drizzle on the faux sprinkles and let sit till dried. *If you don't have faux sprinkles try using glitter or actual sprinkles or nonpareil sprinkles. However real sprinkles may loose color or fade over time. 
  4. Shake off the remaining sprinkles to reveal their tiny little handprint made out of sprinkles.
  5. Finish by adding a loving message and decorate. We used markers to draw candy and added jem stone stickers to really make this sweet surprise!                                                 
grandparents day1.jpg
grandparents day2.jpg
grandparents day3.jpg
grandparents day4.jpg
grandparents day6.jpg
grandparents day7.jpg

This craft is super simple and I know all the grandparents will just love seeing how much they are cared for on this Grandparents Day!

Princess Fairytale DIY Slime

We transformed this notably icky and gooey yucky stuff into the most magical princess slime that will leave your little ones in awe.

Princess Slime 8.jpg

I just love making all types of fun crafts with Brinkley and even my boys love playing with this stuff. But today we really wanted to make it special with a princess fairytale theme. 

So what better way than to create something pretty (well, that may be a bit of a paradox!) and girly than with glitter fairy-dust!! I really think this may be the prettiest slime I've ever seen! Check out how we created this whimsical DIY slime.

What you'll need:

  • Clear Glue 8 oz (3 x 4 oz bottles)
  • Baking Soda
  • Food Coloring
  • Eye Contact Solution (I recommend the contact solution that I've linked here as the one in the photo didn't work well)
  • Heart Confetti/Sparkles
  • Mixing Bowls and Spoons

How to make:

  • Start by adding the clear glue to a bowl (4 oz)
  • Then add the glitter of choice 
  • Add about 2-3 drops of pink food coloring
  • Add a teaspoon of baking soda
  • Combine these ingredients
  • Then add a few drops of the eye contact solution
  • Stir and add more contact solution to get desired consistency 
  • Make a few variations of colors and glitter/confetti (make some lighter by adding less food coloring)

We love this recipe the best! It is by far the most kid friendly recipe we have tried (and we have tried them all)... There are so many ways to make slime but this one is a no brainer and turns out great every time. It has the right consistency and doesn't harder over night which a lot of the other recipes have done. I like the contact solution formula much better than the borax versions. The borax versions I've tried have always come out more like gack or flubber. And for those of you who may not know what the difference is well, it's really just that slime is easier to pull and play with. Gack/flubber just kind of wiggles and around and is more dense. I hope that helps but definitely let me know your thoughts and other recipes below in the comments section! Would love to try them out!

Here we have taken all the colors and lined them up to create this gorgeous pattern! The kids will love mixing and combining the different colors. It reminds me of the old fashioned candy pulling that fascinated me as a kid!!

TIP: Have a boy at home or a not-so-girly-girl that may not be into this pink fairytale slime? Well, simply switch out the pink for blue and add stars instead of hearts and you have a great galaxy slime recipe that I am sure will impress!


Red, White & Blue DIY Slime

Make a spark this 4th of July with this amazing DIY Red, White & Blue slime! Liven up any holiday get together with this super simple and fun DIY that the kids and adults will be talking about all summer long.

Slime is all the rage right now, especially with my little ones. We love mixing and making all types of crafts and concoctions. So slime making has become the go to playdate of choice!

In this DIY we combined regular glitter slime with foam slime for the ultimate effect!

I will show you how to make this icky sticky gooey stuff and transform it into the prettiest mix of colors that may even make you want to get your hands dirty!

It is really very simple and your little ones will be in awe of the pretty colors and mixing this strange textured blob around for hours. Although, making it is just as much fun as playing with it!

Slime DIY.jpg

Here is what you'll need:

  • Clear Glue 8 oz (2 x 4 oz bottles)
  • White Glue 4 oz
  • Shaving Cream
  • Baking Soda
  • Food Coloring
  • Eye Contact Solution
  • Red Sparkles and Star Confetti (optional)
  • Mixing Bowls and Spoons

To make the Red:

  • Start by adding the clear glue to a bowl (4 oz)
  • Then add the red glitter (optional)
  • Add about 2-3 drops of red food coloring
  • Add a teaspoon of baking soda
  • Combine these ingredients
  • Then add a few drops of the eye contact solution
  • Stir and add more contact solution to get desired consistency 

To Make The Blue:

  • Start by adding the clear glue to a bowl (4 oz)
  • Then add the start confetti (optional)
  • Add about 2-3 drops of blue food coloring
  • Add a teaspoon of baking soda
  • Combine these ingredients
  • Then add a few drops of the eye contact solution
  • Stir and add more contact solution to get desired consistency 

To Make the White Foam Slime:

  • Start by adding the WHITE glue to a bowl (4 oz)
  • Then add about 2 tablespoons of foam shaving cream
  • Add a teaspoon of baking soda
  • Combine these ingredients
  • Then add a few drops of the eye contact solution
  • Stir and add more contact solution to get desired consistency 

Once you have all the slime made, you can take a portion and line them up in the red, white and blue pattern! Enjoy watching the kids stretch, pull and combine the colors!

Check out how easy it is and try this on your next playdate or backyard BBQ! It's sure to bit a hit! 

Since Brinkley loves making slime almost every day (no joke!!) I came up with this super cute and girly princess slime just for her! We think this may be the prettiest slime we've ever seen. Check it out! Princess Fairytale Slime


Father's Day DIY Surprise Balloons!

My kids love making something special for their dad every year for Father's Day and this year they thought of writing him a letter to tell him all the reasons they love and appreciate him. How cute is that?!!

So, what better way to present dad with these adorable secret love letters than to place them in these fun and exciting confetti filled balloons! 

Just picture delivering these beautiful balloons to dad this Father's Day!

He will be so surprised and delighted to see what the kiddies have planned for him. And then the kids and dad can pop them together to reveal the surprise letters of admiration inside. I know any dad will just love this and remember it for years to come. 

Here is all you need to make this unforgettable moment come to life:

  1. Start with filling a single large clear balloon with confetti of your choice! I selected a light weight tissue paper confetti. It's colorful and will softly fall as the balloons get popped.
  2. Fill one for each child OR have your child write each reason they love dad on individual paper and fill numerous balloons! Let the sky be the limit with this unique Father's Day gift.
  3. Have the child/children write their letter on a small light-weight paper. I would NOT recommend something heavy or bulky like construction paper.
  4. Then, fill the balloons with helium for the ultimate impact! Don't want to buy a helium tank or pay to get them filled? That's ok too... The joy of popping the balloons to reveal a secret love letter is the point of this and a regular air filled balloon will be just as special. Dad won't notice the difference! 
  5. Delivery them to Dad on Father's Day and see his face light up with excitement and wonder

Want to make this moment even more special? Have the kids read dad their letter. He will melt with love and appreciation as the kids share their special letters with him.

Kick off Summer with this Flower Wreath DIY Headband

We are all obsessed with the current snapchat filter of the beautiful festival flower crown and my daughter and I just love playing around looking at ourselves with these beautiful filters too! 

I knew we could make this filter come to life with this super simple DIY craft. And what better way to kick off the summer vibe than getting on trend with this ultra chic hair accessory. 

Dress up any summer BBQ by wearing this stylish flower wreath headband.

How to make:

  1. Headband (We used a couple of Brinkley's old headbands that she doesn't wear often)
  2. Buy or use any artificial flowers your have at home. Here is the link to the ones we used RosesPeony and Orchid
  3. Wire or Pipecleaner (if you want to add Kitty Ears like my daughter did)
  4. Hot Glue Gun (helps to hold heavier items than normal glue plus it dries faster than regular glue so you only have to hold in place for a minute or less before the glue is dry and the item is stuck on securely)

First you'll want to layout your design and place the flowers in a way you'll want them before you glue them on. I used the larger peony flowers for my headband and I added a few of the leaves from the artificial flower arrangement do add more dimension to the design. After trying out a few mixes of roses and peony, I decided on my design and started gluing on the flowers and adding on where I needed. 

For Brinkleys' we started by added the cat ears using a silver pipe cleaner. I wrapped the pipe cleaner around the base of the headband a few times and then formed the cat ear by pinching the top to make a point. Then she chose the orchid flowers to decorate and that was it! 

After using the glue gun on many projects, I let her glue on a couple of the flowers by herself which she was thrilled about! I just warn that you help to hold the item on just incase any glue moves or drips in the process so the little hands don't get burned. It HURTS!! So be so super careful if you decide to let your child help in this process. Brinkley is 6 and does tons of crafts with me all the time and I trust her to a point but am always watching very keenly and never take my eyes of her during this process.

Then we brought our items to a BBQ last weekend and they were a hit with all her friends. They all wanted one and loved dressing up and playing around wearing them.

Make heads turn when your littles (or you... I won't judge!) rock this stylish summer trend!!