Personalized Mother's Day Bouquet Craft

What better way to show mom you care than with this beautiful Mother's Day Craft!
The kids will love creating this fun DIY craft and you will love cherishing it for years to come.

Make it personal with a family photo or just use pictures of the kids like we did. Each child can make their own or they can join forces and make one together.

How to Make:

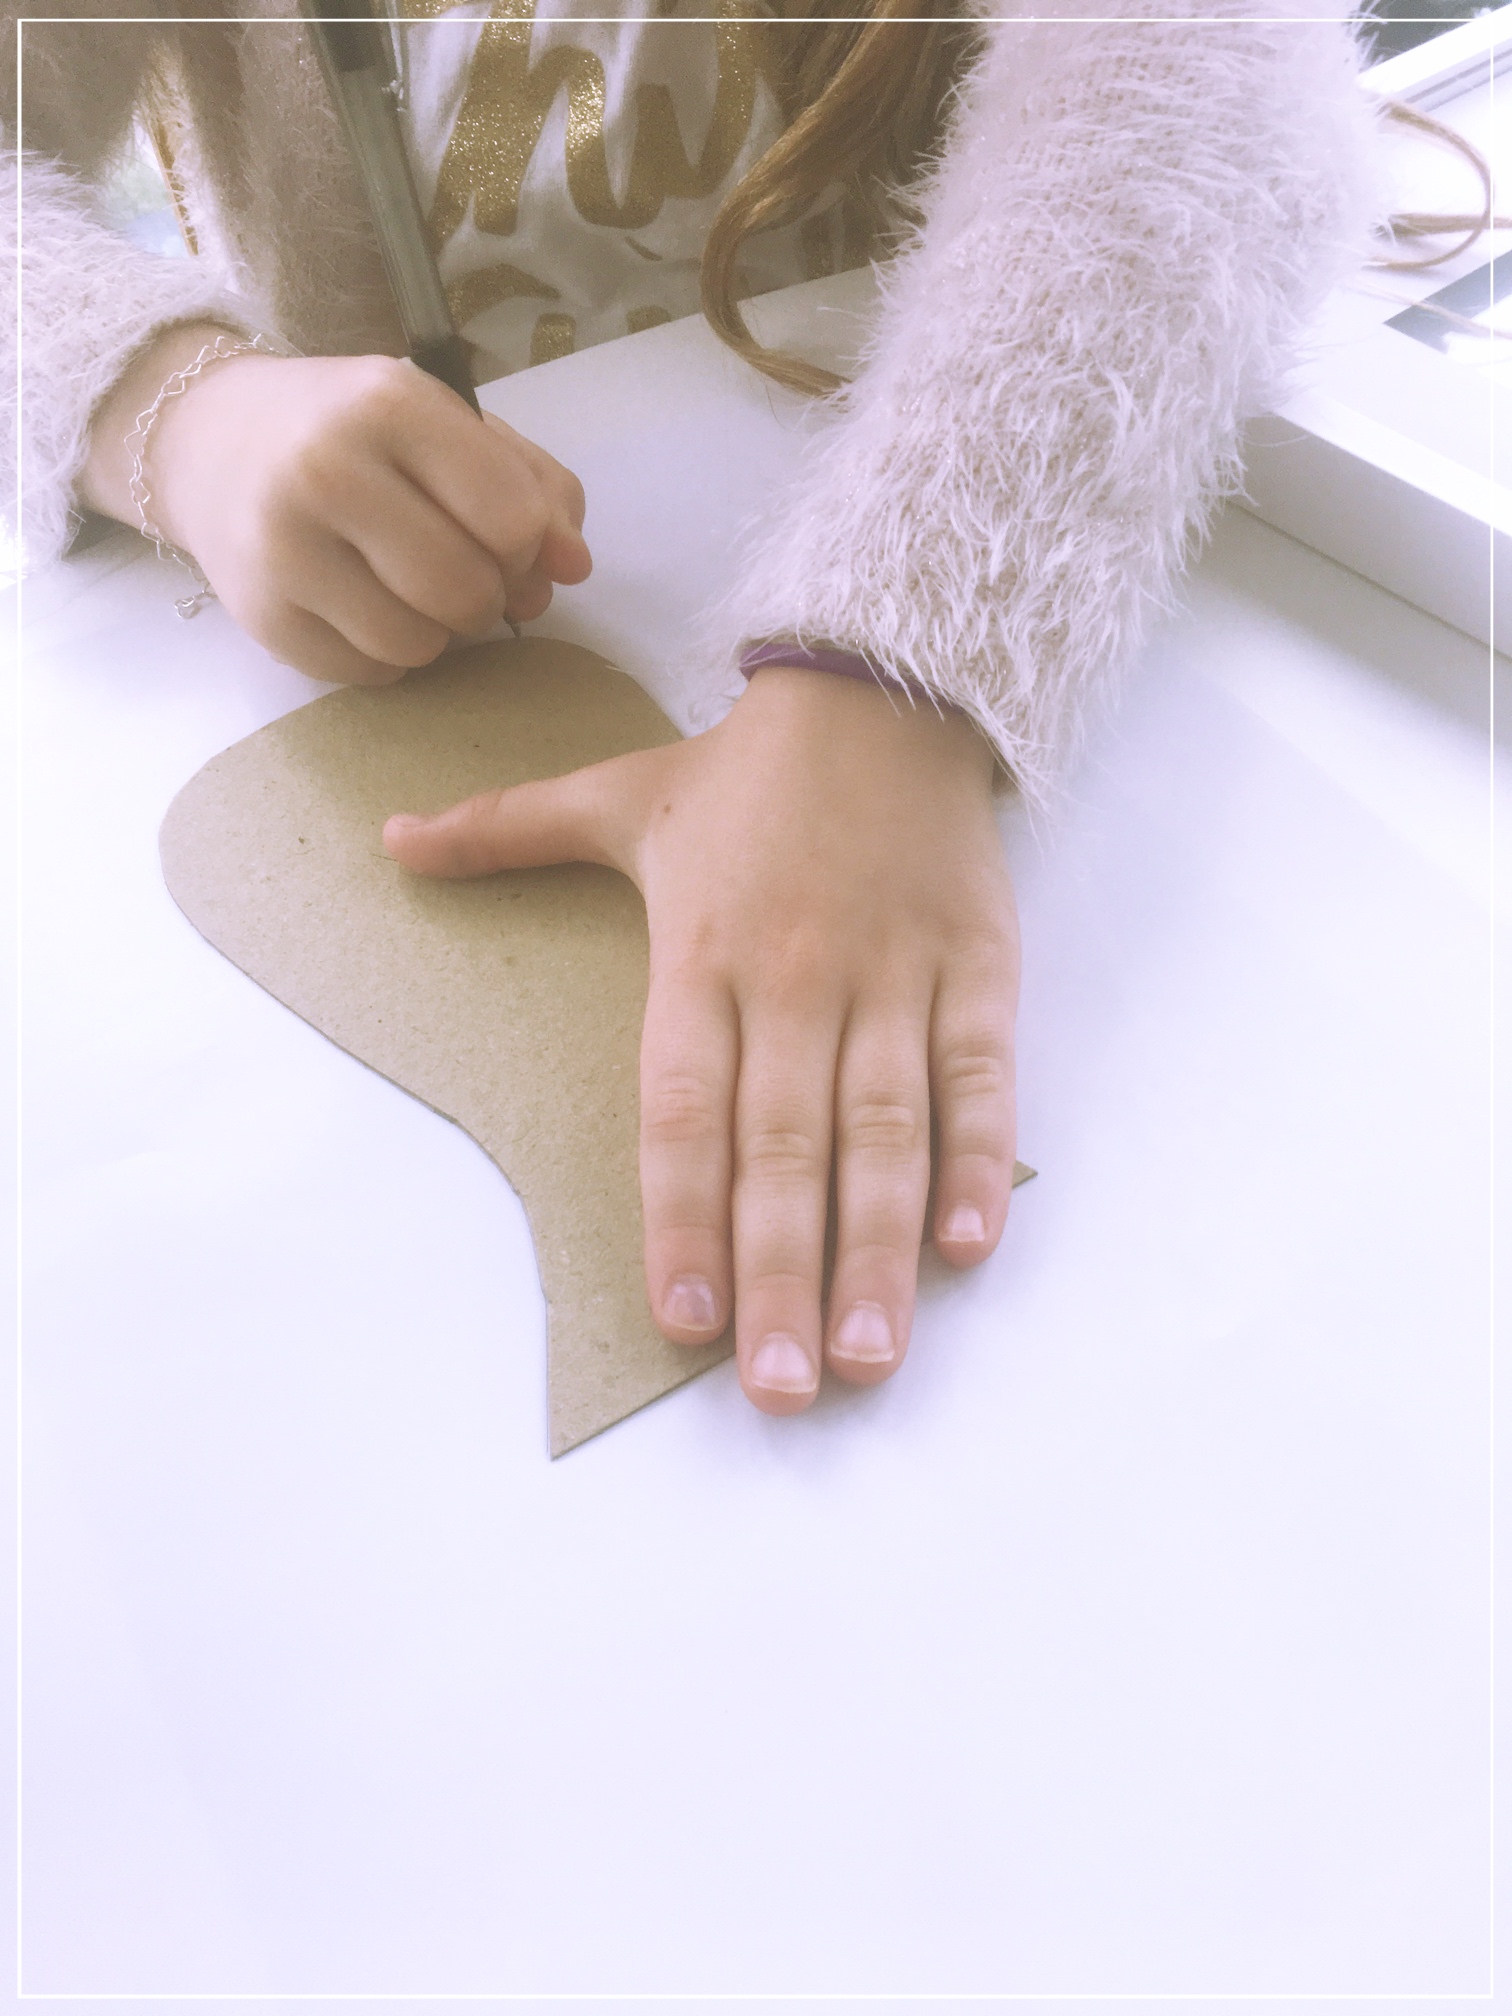
1. Start by tracing a vase shape on firm paper or cardboard. We used a piece of a cardboard box from one of our recent online purchases.

2. Then have them trace that shape onto a solid piece of paper.

3. They can paint around the shape as opposed to painting the vase itself giving a modern abstract look.

4. Add a personal family photo or individual pictures. I had them trace their faces out of a photo using a coin and then cut and glue on. 

5. Then have your little ones use ribbon or draw a boarder onto the vase. 

6. Once the paint dries you can help them glue on some dried flowers and artificial flowers. I love letting them mixing it up! If you don't have any dried or fake flowers around they can simply cutting out flower shapes or petals with tissue or construction paper. Or draw their own flowers on separate paper and then cut them out. I just love how it turned out!

6. It looks great as is, but by placing any of your children's artwork in a modern crisp white frame like this it will automatically elevates it to a piece of real modern art that you won't mind hanging the walls. But make sure the frame has room to accommodate the depth of the flowers. I used a shadow box frame. 

This can also be a great gift for grandma!

Capturing a moment in time like this makes it a that much more special and important. What mom doesn't want that for Mother's Day?!!

Creating something personal and honoring mom is the perfect idea this holiday!

Paint Your Own Playdoh - Easter Shapes

playdoh13.jpg

Brinkley, my 6 year old daughter was asking to dye Easter eggs weeks before spring had even sprung! What kid doesn't love dying Easter eggs, right?! Well, I knew I had to come up with another idea that would peak her festive & creative interest. 

Make your own natural colored playdoh and paint them using food coloring and water.

What you'll need:

  • 2 cups flour
  • 1 cup salt
  • 1 teaspoon cream of tartar
  • 1 tablespoon oil
  • Lastly add 1 cup of warm water
  • Combine all ingredients. Knead dough until it's no longer sticky
  • Non-stick surface (we used a glossy placemat)
  • Easter cookie cutters
  • Food Dye to make paint (Add a few drops of dye to small bowl of luke warm water) 

Kids love mixing and stirring things and feeling like they are doing it all on their own.  So I pre-filled all the ingredients with the correct amount and left it to my daughter to make herself! 

Then I layed out a few easter themed cookie cutters for her to make shapes with! 

playdoh6.jpg

Finally, we made our own paint by adding some food coloring and water. She was able to paint and decorate them any way she liked! 

Paint and enjoy the Easter Decor!

We let them dry over night and then presented them in an adorable basket! They preserved beautifully for weeks!


Pokemon & Shopkins - Easter Egg Hunt with Kinetic Sand

Easter Egg hunt reinvented!

We live in the city and finding a semi-private place to do an easter egg hunt is challenging especially when the only outdoor space in my building isn't even open yet!! That is why I came up with this super fun idea for my kids. No worrying about finding grassy area and just as much fun for them! Plus, the kinetic sand lasts for a long time and you can keep to play with another time. I love putting it out on playdates and letting the kids enjoy the fun texture.

My kids are currently obsessed with Pokemon and Shopkins which are perfect to place inside a little tiny egg. I didn't want to use candy because I know they'll be getting so much of that from the Easter Bunny. 

Here is what you'll need! 

  1. 5lbs of Kinetic Sand
  2. Shopkins
  3. Small Pokemon figurines
  4. Small Easter Eggs
  5. Large Bowl or Bin

Start by emptying the kinetic sand into the bowl or bin of your choice. Make sure there is room for them to move the sand around without it spilling over the top. This large bowl used is very deep and was perfect for this DIY. However, using a plastic bin would work well too. Another option is to try a beverage tub or even a large plastic bucket would also work well.

Then, place the Shopkins and Pokemon figurines into the small easter eggs. The Pokemon toys we ordered were already in an egg so that saved me a step! 

Then cover the eggs deep in the sand and let the kids enjoy searching for them though this thick magical sand that feels like wet sand from the beach. It is easy enough to dig through but harder to find things in as it is denser than regular sand. It is similar in density to brown sugar, just incase you have never touched it. It really does stimulate the senses and can really be soothing to play with. The kids will love this activity this Easter Season.

Want to do this with the kids but don't want to spend a ton? Try using items the kids already own to put inside the eggs.  They will have just as much fun hunting or digging for eggs and discovering what items you have hidden in them! Or try adding loose change. The kids will love adding the coins to their piggy banks.

See what they discover this Easter with this unique Easter Egg Hunt experience!! I know they'll love it. Leave your comments or questions below!


Hatchimas DIY

We all know how hard it is to get our hand on an actual Hatchimal, so I decided to take things into my own hand, literally!

I knew I could come up with a simple solution to this dilemma. I wanted my kids to experience the joy of having a hatchimal and since there is not one to be found anywhere in lower Manhattan and they are a fortune online, so I thought I could make this myself! And you can too. It is this simple...

What you'll need:

  • Flour
  • Water
  • Bowl
  • Plastic wrap & tin foil
  • Newspaper cut into strips
  • Paint Brush
  • Plastic egg or oval shaped object to use as your base to form the egg shape
  • Stuff to put inside the egg (your choice, be creative!)
  • Hot glue gun or masking tape
  • Paint

How to make it:

  • Make the plaster by using equal parts flour to water in a large bowl (1:1 ratio)
  • Take your egg or oval shaped object (cut into two halves) and cover the top half with plastic wrap and the bottom half with tin foil (you will need a center seem and two parts to make this correctly)
  • Dip your newspaper stripes into the flour mixture to coat
  • Start layering the pieces to cover the entire top and lower halves separately
  • Let dry over night
  • Gently remove the hardened pieces from the base
  • Carefully pull out the plastic liner on the top half and leave the tin foil in the base  (this will give your egg structure to hold the items you will be putting inside!
  • Place your surprise items inside (I recommend using a stuffed animal and small candies and treats, my kids are currently obsessed with Pokemon cards, so I added those as well!)
  • Either hot glue or tape the top and bottom pieces together (I had a hard time getting the tape to stick so I used the hot glue gun)
  • Cover seams using a few more pieces of newspaper and the plaster mixture
  • Use a thicker version the mixture (2:1 ration flour to water) to fill in any openings & gaps along the seem. Make it the consistency of a paste or puddy, then use that to fill in gaps before covering with newspaper and the looser (1:1 ratio consistency) 
  • Let dry completely (overnight) before painting 

Then, let the kids enjoy hammering the egg open to find their surprises! My kids helped me make the egg and knew what what was inside but that didn't stop them from having a blast with destroying the egg and finding the items inside! 

Learn a thing or two... President's Day Educational DIY

There are many holiday's that the kids have off from school. But this President's Day, make time to teach them by having them do a fun DIY Craft dedicated to educating them about what this holiday really stands for. 

Washington's Birthday, or better known as President's Day, happens every year on the 3rd Monday of February. It's to honor the first president of the United States, George Washington. However, it's to honor and remember all the presidents. 

I wanted to make sure that my kids understood the importance of this day and to recognize that it is not just a day off from school but a day where we look at the history of our nation. 

My older son, Brycen, really loves the presidents and probably knows more than I do about them and when they served. Studying can be fun and here is how we will be celebrating this President's day with this fun DIY craft of all the American Presidents.

Here is what you'll need:

  • Paper (preferably card stock or something durable but not too thick)
  • Glue Stick
  • Print out of the American Presidents
  • Puzzle print out
  • Kid scissors

How to make it:

  • Start by taking your puzzle print out
  • Glue the puzzle design on the back of your card stock or cardboard
  • Then take your Presidents Print out and have them glue it to the front
  • Let them cut the puzzle shapes out
  • Spend time having them remake there puzzle 
  • Ask them questions about the presidents (Try this Fun Fact Page by mistergworld.com)

Gingerbread House Decorating Fun- Life-size!

Make your kid's dreams come true with this life-size gingerbread house idea!

My kids just love the little playhouses made out of cardboard and I love them too, because the kids are entertained for days... playing and coloring them until they are literally destroyed and then I get to throw them out! 

This year I was inspired by the gingerbread house decorating competition I was watching on the Food Network and I decided I would do something similar at home. I have seen the cardboard houses in the brown color (normally they are white) and so I ordered one from Target... along with all these other goodies from Oriental Trading. Here is how simple and fun this was! And how cute! All the kids from the neighborhood will love coming over to see, play and decorate! 

  1. Build the simple to construct cardboard play house from Target
  2. Decorate the house with large candy decorations like these from Oriental Trading
  3. Adult only!! Use a hot glue gun to glue the main decorations to the house (this will help hold the decorations on securely so the kids can play and use the house for the coming days)
  4. Add fake snow on roof (can use felt)
  5. Let the children add actual candy (like gumdrops and peppermint) & snowflakes using Elmers Glitter Glue- if the candy is large or heavy you can glue them using the hot glue gum for a firmer hold
  6. Add wire string lights
  7. Use decals to decorate the floor and/or window
  8. Use a white rug/throw to look like snow (I picked this up from Century 21)
  9. Let the kids color their own designs with Crayola Scented Markers 
  10. Enjoy days of fun with this!!

Happy Holidays! 

Smells so good, you'll want to eat it too! But don't!!!! Hot Chocolate Playdoh DIY

I love playdoh and I always let my kids make a mess and have fun with it. It really keeps them entertained for so long and just seeing them being creative and "in the zone" really inspires me. 

This season I wanted to do something fun for them!

I was at a tree trimming party with my daughter and they were serving hot cocoa in these adorable glass mugs. When we got home, it hit me, why don't we make this out of playdoh!

Here's how we created this fun and nostalgic holiday season drink; marshmallows included!

Here is what you'll need:

  • Flour, Salt, Cream of Tarter, Food Dye, Vegetable oil, Essential oil or natural scent, small glass mugs, glitter (optional), hot water
  • Combine:
  1. 2 cups flour
  2. 1 cup salt
  3. teaspoon cream of tarter
  4. tablespoon vegetable oil
  • In a separate bowl, combine:
  1. 1 cup of hot water
  2. 20 drops of essential oil or natural scent
  3. 1/8 teaspoon - 1/2 teaspoon food dye (add as much as needed for desired color)
  • Pour the liquid into the flour mixture and combine (add more scent and/or color as desired)
  • Stir and kneed dough until totally combined 
  • Do this in seperate bowls for the chocolate and the marshmellow
  • *Add a few shakes of glitter to the marshmallow dough
  • Layer the chocolate scented dough into the small mug or jar
  • Then top with a small amount of the marshmallow dough 
  • Cover and store (this will last up to 2 months if covered properly or for ultimate freshness store in the refrigerator)

We wanted our chocolate dough to smell really super chocolatey so we added a few more drops of the essential oil! Add as much or little as you like!

To finish, add a holiday ribbon and label for a cute little gift for friends! The kids will love playing with this.. watch their faces light up when they open and smell the sweet scents. I know a lot of kids love to eat playdoh so make sure they don't eat it! It doesn't taste as good as it smells... Trust me! 

Holiday Bath-time fun! Seasonal Scented Bath Soap DIY

Who's guilty of trying to holiday shop with the kiddos?!!

Well, I am sure we've all been there. But the other day when we were at the local shops, my kids wanted me to buy them the most expensive seasonal soaps and lotions. I agreed, they smelled so good and I actually left wanting them for myself also but I didn't want to spend money on things we really didn't need right now. So, I went home and thought, we can make them something similar with things we already use. 

I took the kids' all natural Aveeno lotion and soap from their bathroom. The ones that won't bother their eyes and I know work well on their skin. Then, I found small travel bottles that I normally fill and use for trips. So, I washed them out and filled them with the kids tear free and all natural products. And here's exactly how I did it! So easy and cost me literally just a few dollars for the products I would have bought anyway! 

  • Use all natural, kid safe shampoo/wash/conditioner (tear free and fragrance free works best, we use Aveeno)
  • Let the kids add a small amount of each product into separate small bowls
  • Then let them add approximately 8 drops to each bowl of your kids favorite scent using skin safe essential oils (we picked cupcake)
  • Stir with a spoon or spatula (the kids will love this!)
  • WARNING-- If desired, add a few drops of food grade dye, like Wiltons (ONLY use a light color, like yellow, to avoid skin staining or color transfer - you don't want to dye your kids hair!) If used in a very small way, you should have no issues with the color however, you can try a small batch to test it out. If this scares you, it is totally not necessary! So just skip this!
  • Stir until color is combined
  • Then, add the product to the travel bottles and label
  • Enjoy! Bath-time, made even better!

The best part about this is that the kids and I are both happy! They get to lather themselves in yummy scented soaps and lotions and I know their sensitive skin won't be bothered by all the harsh chemicals in the store bought scented products! Plus, I wouldn't want to skip out on celebrating the holiday cheer with the kids; using festive products and I may have just made a little extra for myself! Smells so sweet and yummy...

Snow Globes and Christmas Trees... what could be more perfect?!

When you think of a perfect winter weekend you would probably imagine the whole family cozied up together; the children playing with snow globes and sipping hot cocoa while decorating the tree and a fire crackling in the background.  Sounds amazing right? Well, I wanted to make sure that this was a reality for us this holiday season. Check out how we did it!

While my husband was stringing the lights on the tree (and untangling miles worth of tangled bulbs) I worked with the kids on this easy homemade snow globe craft. Here is how we made them... And you probably have all of these items floating around the house already!

  1. Start with a clean mason glass jar (or any glass jar from the recycling bin)
  2. Super Glue a small figurine to the inside of the lid (we used these adorable Elf on the Shelf ones!)
  3. Optional - add a small tree (I found these at Target)
  4. Then sprinkle the glitter and snowflakes into the empty glass jar
  5. Add water almost ALL the way to the top (optional- use glycerin for a thicker liquid)
  6. When the super glue holding down the figurines is completely dry you will turn the lid upside down and submerge the figurine and secure the cap. 
  7. Optional but recommended- Add a small amount of super glue around the edges of the cap before securing. This will help to avoid any little fingers from possibly opening the jar and causing a major leak!

DIY Spa Day - Kiddie Style

Towels from Pottery Barn Kids

Towels from Pottery Barn Kids

Brinkley loves everything girly; from feeding her baby alive dolls (real baby food!), playing dress-up in her favorite princess costumes to baking tiny miniature cookies with her easy bake oven. So what better way to spend the afternoon than to create for her a little "Spa Day" Retreat.

Come on, doesn't everyone need to relax every once in a while! Even if it's just pretend! 

She had just as much fun making the products as she did playing with them! But remember to remind your little ones not to eat the mixtures because they smell much better than they taste! 

First we made the amazing Bubble Gum Bath Soak. Here's how we made it:

  1. All natural and unscented bath salts from One With Nature -- 1/3 Cup
  2. All natural essential oil in Bubble Gum Scent -- 5 large drops
  3. Add a small amount of food dye -- I used about one to two drops
  4. Pinch of natural herb mix with lavender to relax the body
  5. Combine ingredients in a bowl
  6. Store in a sealed container or I used an old mason jar

Once we had the bubble gum bath soak ready, I knew she'd want something yummy smelling to create a relaxing bath scrub so I used the sugar cookie scent to create this luxurious bath scrub that my husband I both actually love too. It just smells so good!! And actually helps moisturize the skin while removing excess dry skin which is great in the winter months.


Here is how we made it:

  1. First measure out about 1/3 cup of sugar depending the size of the jar or container
  2. Then add 3-4 tablespoons of rich coconut oil
  3. Add 5-6 drops of the sugar cookie oil
  4. Pinch of natural herb mix with lavender to relax the body
  5. Combine ingredients in a bowl
  6. Store in a sealed container or mason jar

Candy Necklaces

I know this is technically a food, I mean we all eat candy, but I think this is more of a DIY project than a DIY Food... 

So lets get started!!

1. Pick candy that has a large center ring opening. I bought so many options so the children had an assortment to pick from. Here is what we used: Gummy Lifesavers, Sour Gummy Lifesavers, Gummy Ring Pop candy, Twizzler Rainbow, Red Vines and Sour Peach Gummies. You could also use hard lifesavers (my kids just prefer gummy). My daughter also decided it would be fun to add the Halloween Rings we bought for fun to incorporate in her necklace. But make sure your children don't eat them though!

All of this candy is from Michael's or Target

2. Buy a sturdy plastic cord/string to use. I found these Stretch Magic Silkies rubber necklaces from Michael's and they were so easy to use because they came with a built in clasp. The children didn't need any help getting started or finished!

3. To start on the necklaces, remind the little ones to pinch one end so the candy doesn't fall of. Let the kids enjoy creating a beautiful edible and wearable masterpiece! 

Try this at your next playdate or Halloween Party and I'm sure it will be a smash!

Leave comments or questions below.

candy necklaces 3.jpg

Fall Fun DIY Bobbing for Apples

When that summer heat turns to crisp cool air, you know that fall has arrived. And this year September may be a little chillier than normal in NYC but we can still spend afternoons outside before the real cold winter weather hits. 

Here is a great way to use up all those apples you've all picked from the local apple orchard (see my post on Warwick, NY Apple Orchards)... Once you've made apple pie, apple crumble and apple whatever else you can think of to use up all those apples! Try this amazing and fun way to gather on a fall afternoon! Have the kids invite a friend or two over and get started. 

All you need:

  • 1 large bucket or plastic tub
  • warm water
  • towels
  • approximately 30 small/medium size apples
  • aprons to protect from the water *If you have them, but not necessary

Have fun and enjoy! Also, the kids get a yummy healthy snack afterward:)

***Please note that the children's shirts and hair may get wet so let their parents know in advance that their children may come home a little soggy. Or ask them for a dry shirt to change into before coming over. 

Cheers to a happy fall & I hope you enjoyed this post. What are some of your favorite fall fun activities?! 

"Frozen" DIY Ice Queen Playdoh - Best No Bake Recipe

As the temperates cool down outside we will be spending more and more time indoors. This "Frozen" themed DIY no cook playdoh will sure be a hit amongst the little ones. This icey blue playdoh mix will wow even the biggest Frozen fan and let their imaginations run wild!

In a large bowl add:

  • 2 cups flour
  • 1 cup salt
  • 1 teaspoon cream of tartar
  • 1 tablespoon oil
  • Icy Blue food coloring 
  • Silver Sparkle Glitter
  • Lastly add 1 cup of warm water

Combine all ingredients. Knead dough until it's no longer sticky.

*I like to leave the color not totally combined. It gives the kids more to do and they'll love watching it change before their eyes. 

To save dough, place in a tupperware or plastic baggie and refrigerate. But don't eat even though it does looks delicious!!

DIY Kids Photo Session

Save yourself hundreds of dollars and give yourself some credit. Who says you need to hire a professional to get that professional looking shot of the kids?

You probably take dozens of photos of them on a daily bases (I actually checked my phone and I did take almost 2 dozens picture of the kids yesterday)... and believe it or not but in the bunch there are at least two great pictures. Now add some natural lighting and a perfect backdrop and you have yourself that amazing picture you've been desiring. 

Like this one I recently took using the backdrop I bought at backdropoutlet.com for Brent's first birthday. I also included the bigger kids in some and wound up with so many amazing pictures I don't even know what to do with them. I wound up printing a bunch and using them as decorations for his birthday party. 

Not to mention we had the best time taking all sorts of pictures and poses. Sometimes the best pictures are the ones that aren't staged or orchestrated. 

We had so much fun together too!!! 

DIY Signature Plate

Let me save you a ton of money on this idea!
Check out this 1st Birthday Signature plate that we made ourselves at home for Brent's 1st birthday party. These same plates sell for $30 or more online. But by simply doing it yourself can save you a ton! Plus it's way more fun. 

Here is what you'll need:

  • 1 ceramic white plate about 10" round (Michaels makes this amazing kit)
  • Acrylic Paint (Crayola) or use colors from the kit
  • soft medium size paint brush or a sponge will work too
  • 1 paper plate
  • wet paper towel
  • Sharpie Marker (Don't let the kids get there hands on this!!)

How to:

  • Make sure the plate is clean and dry
  • put a small amount of paint on a paper plate
  • brush the paint on the kids hands or feet (it tickles a little!)
  • place their hands/feet directly onto the plate (may smear a little but it's ok!!)
  • put the plate somewhere safe to dry
  • wash the hands/feet immediately with the wet towel

This is so simple and personalized! Everyone will be excited to sign it and your child will have this amazing keep sake forever. Share your party ideas below or tag us in your next DIY signature plate post!