Father's Day DIY Surprise Balloons!

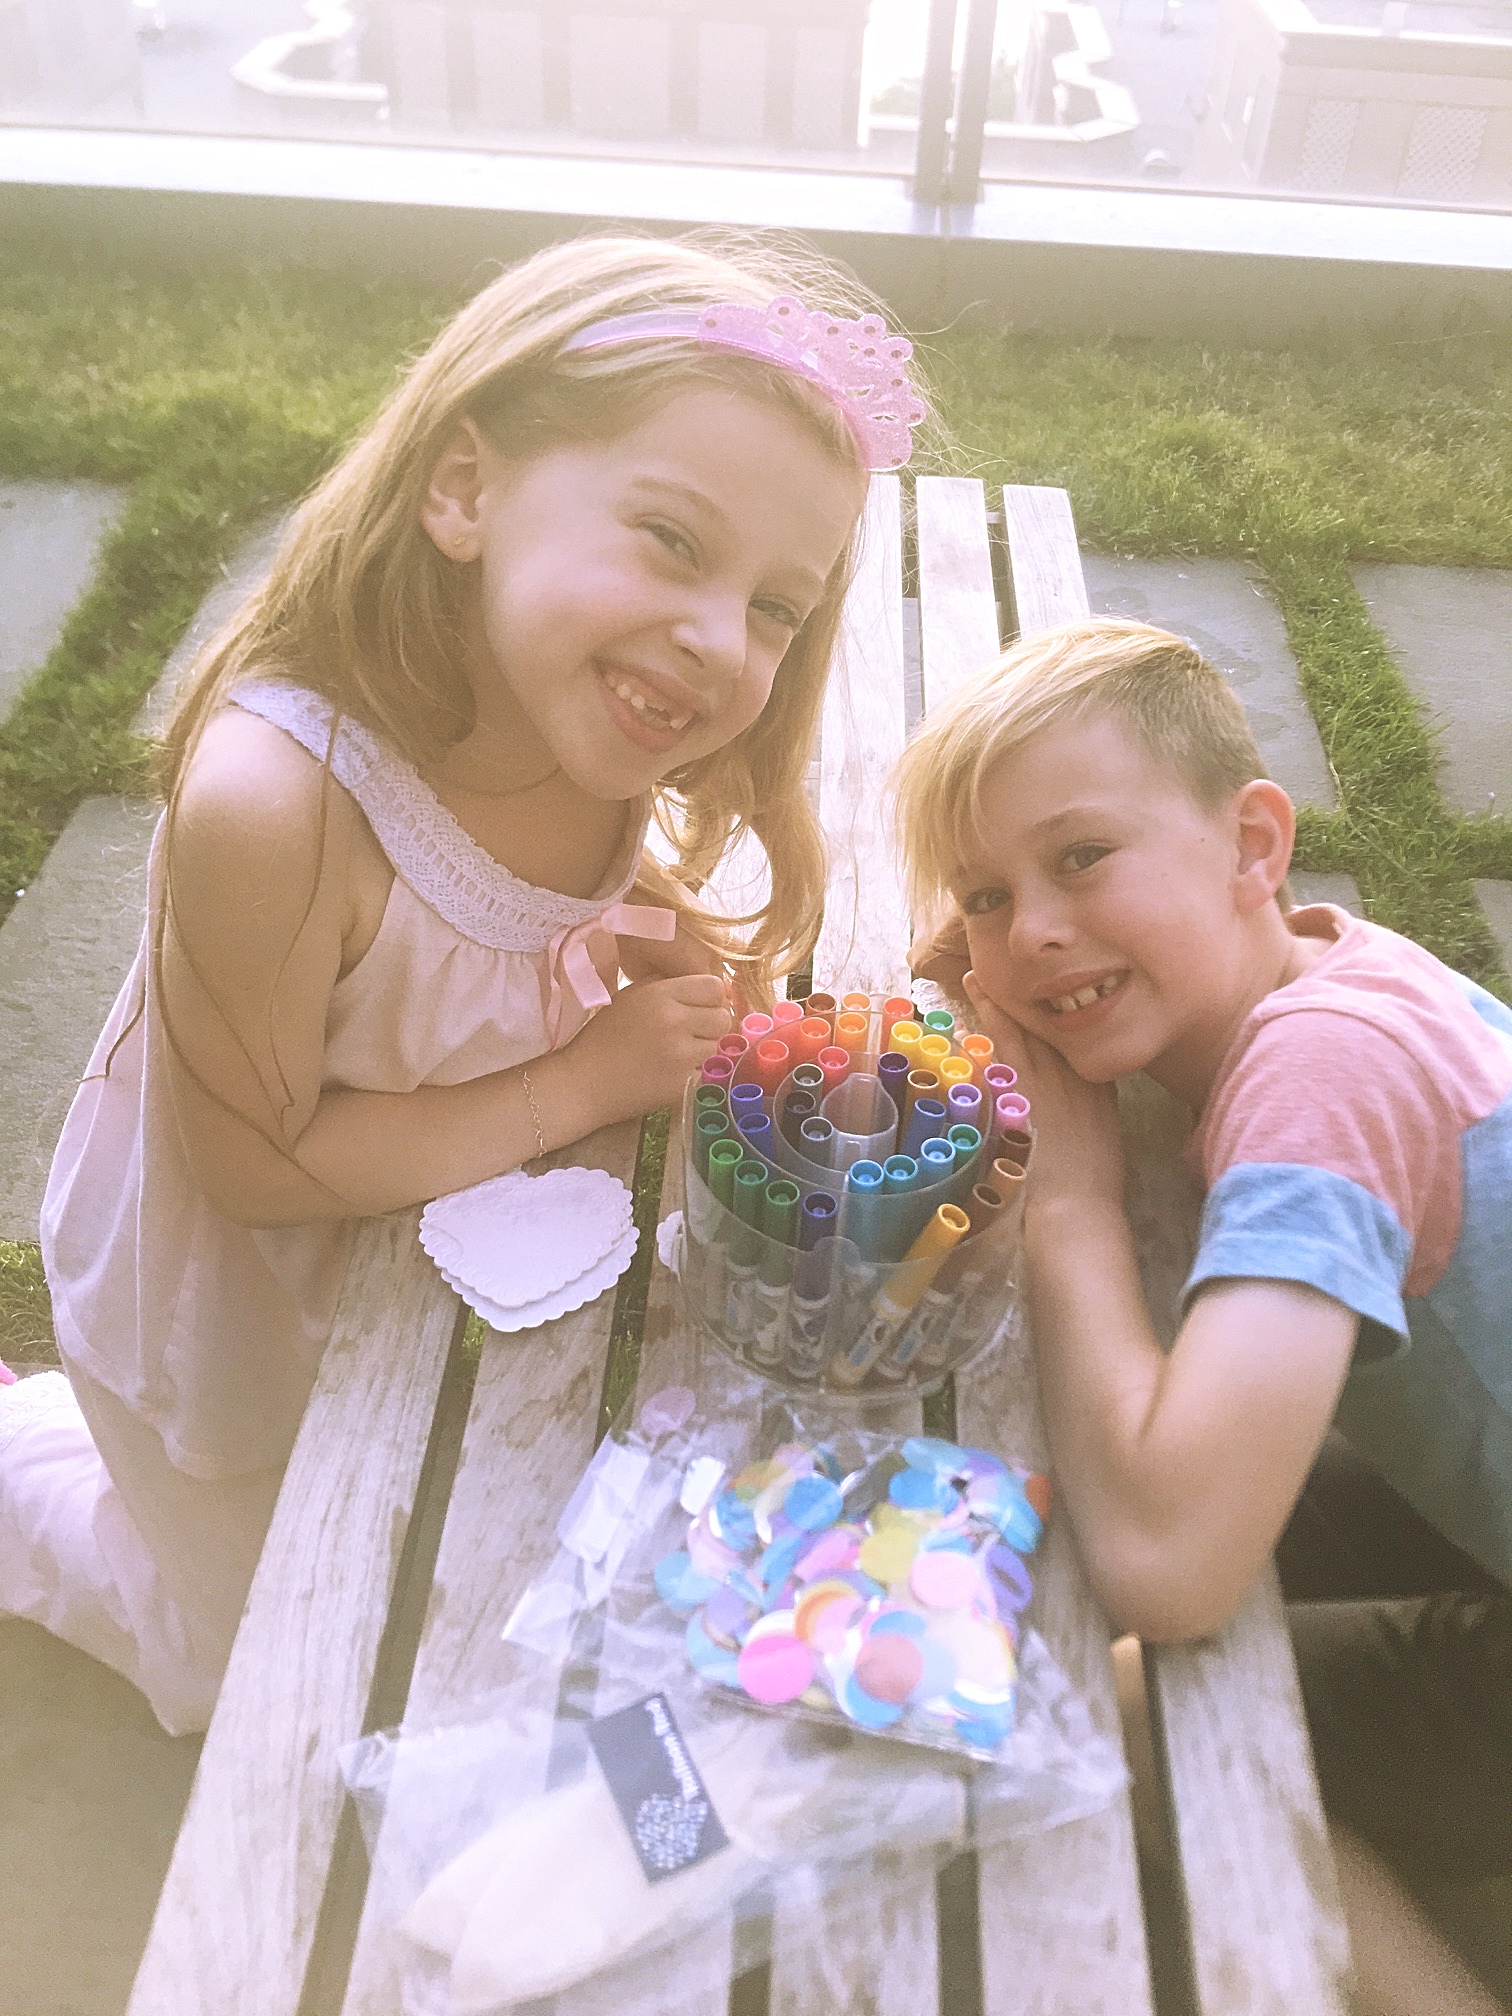
My kids love making something special for their dad every year for Father's Day and this year they thought of writing him a letter to tell him all the reasons they love and appreciate him. How cute is that?!!

So, what better way to present dad with these adorable secret love letters than to place them in these fun and exciting confetti filled balloons! 

Just picture delivering these beautiful balloons to dad this Father's Day!

He will be so surprised and delighted to see what the kiddies have planned for him. And then the kids and dad can pop them together to reveal the surprise letters of admiration inside. I know any dad will just love this and remember it for years to come. 

Here is all you need to make this unforgettable moment come to life:

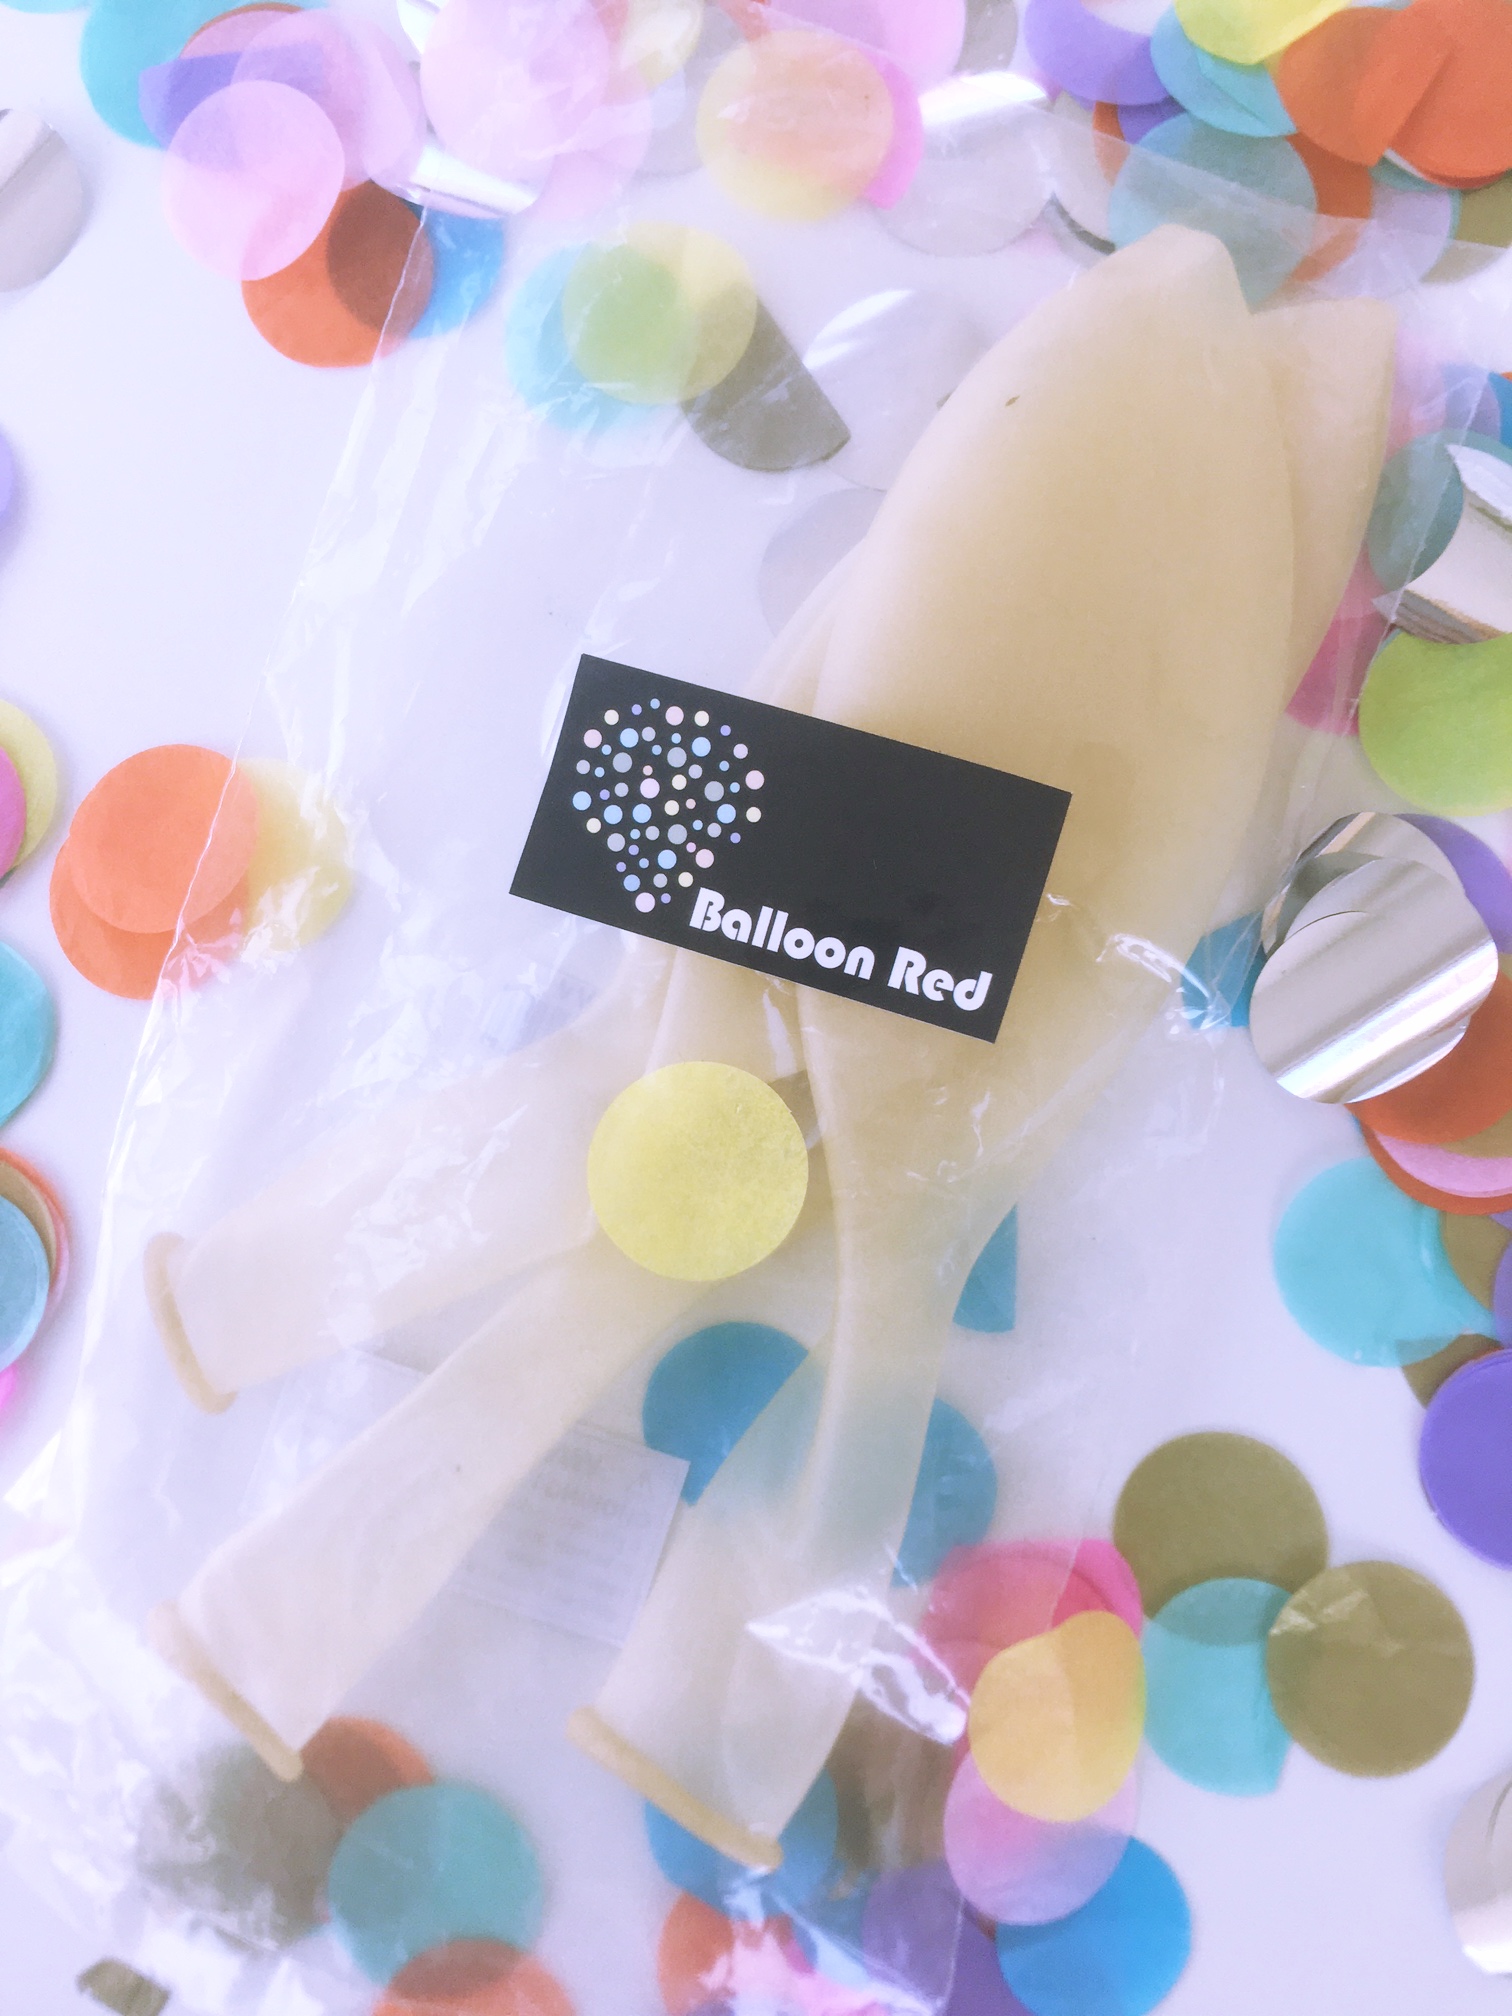
  1. Start with filling a single large clear balloon with confetti of your choice! I selected a light weight tissue paper confetti. It's colorful and will softly fall as the balloons get popped.
  2. Fill one for each child OR have your child write each reason they love dad on individual paper and fill numerous balloons! Let the sky be the limit with this unique Father's Day gift.
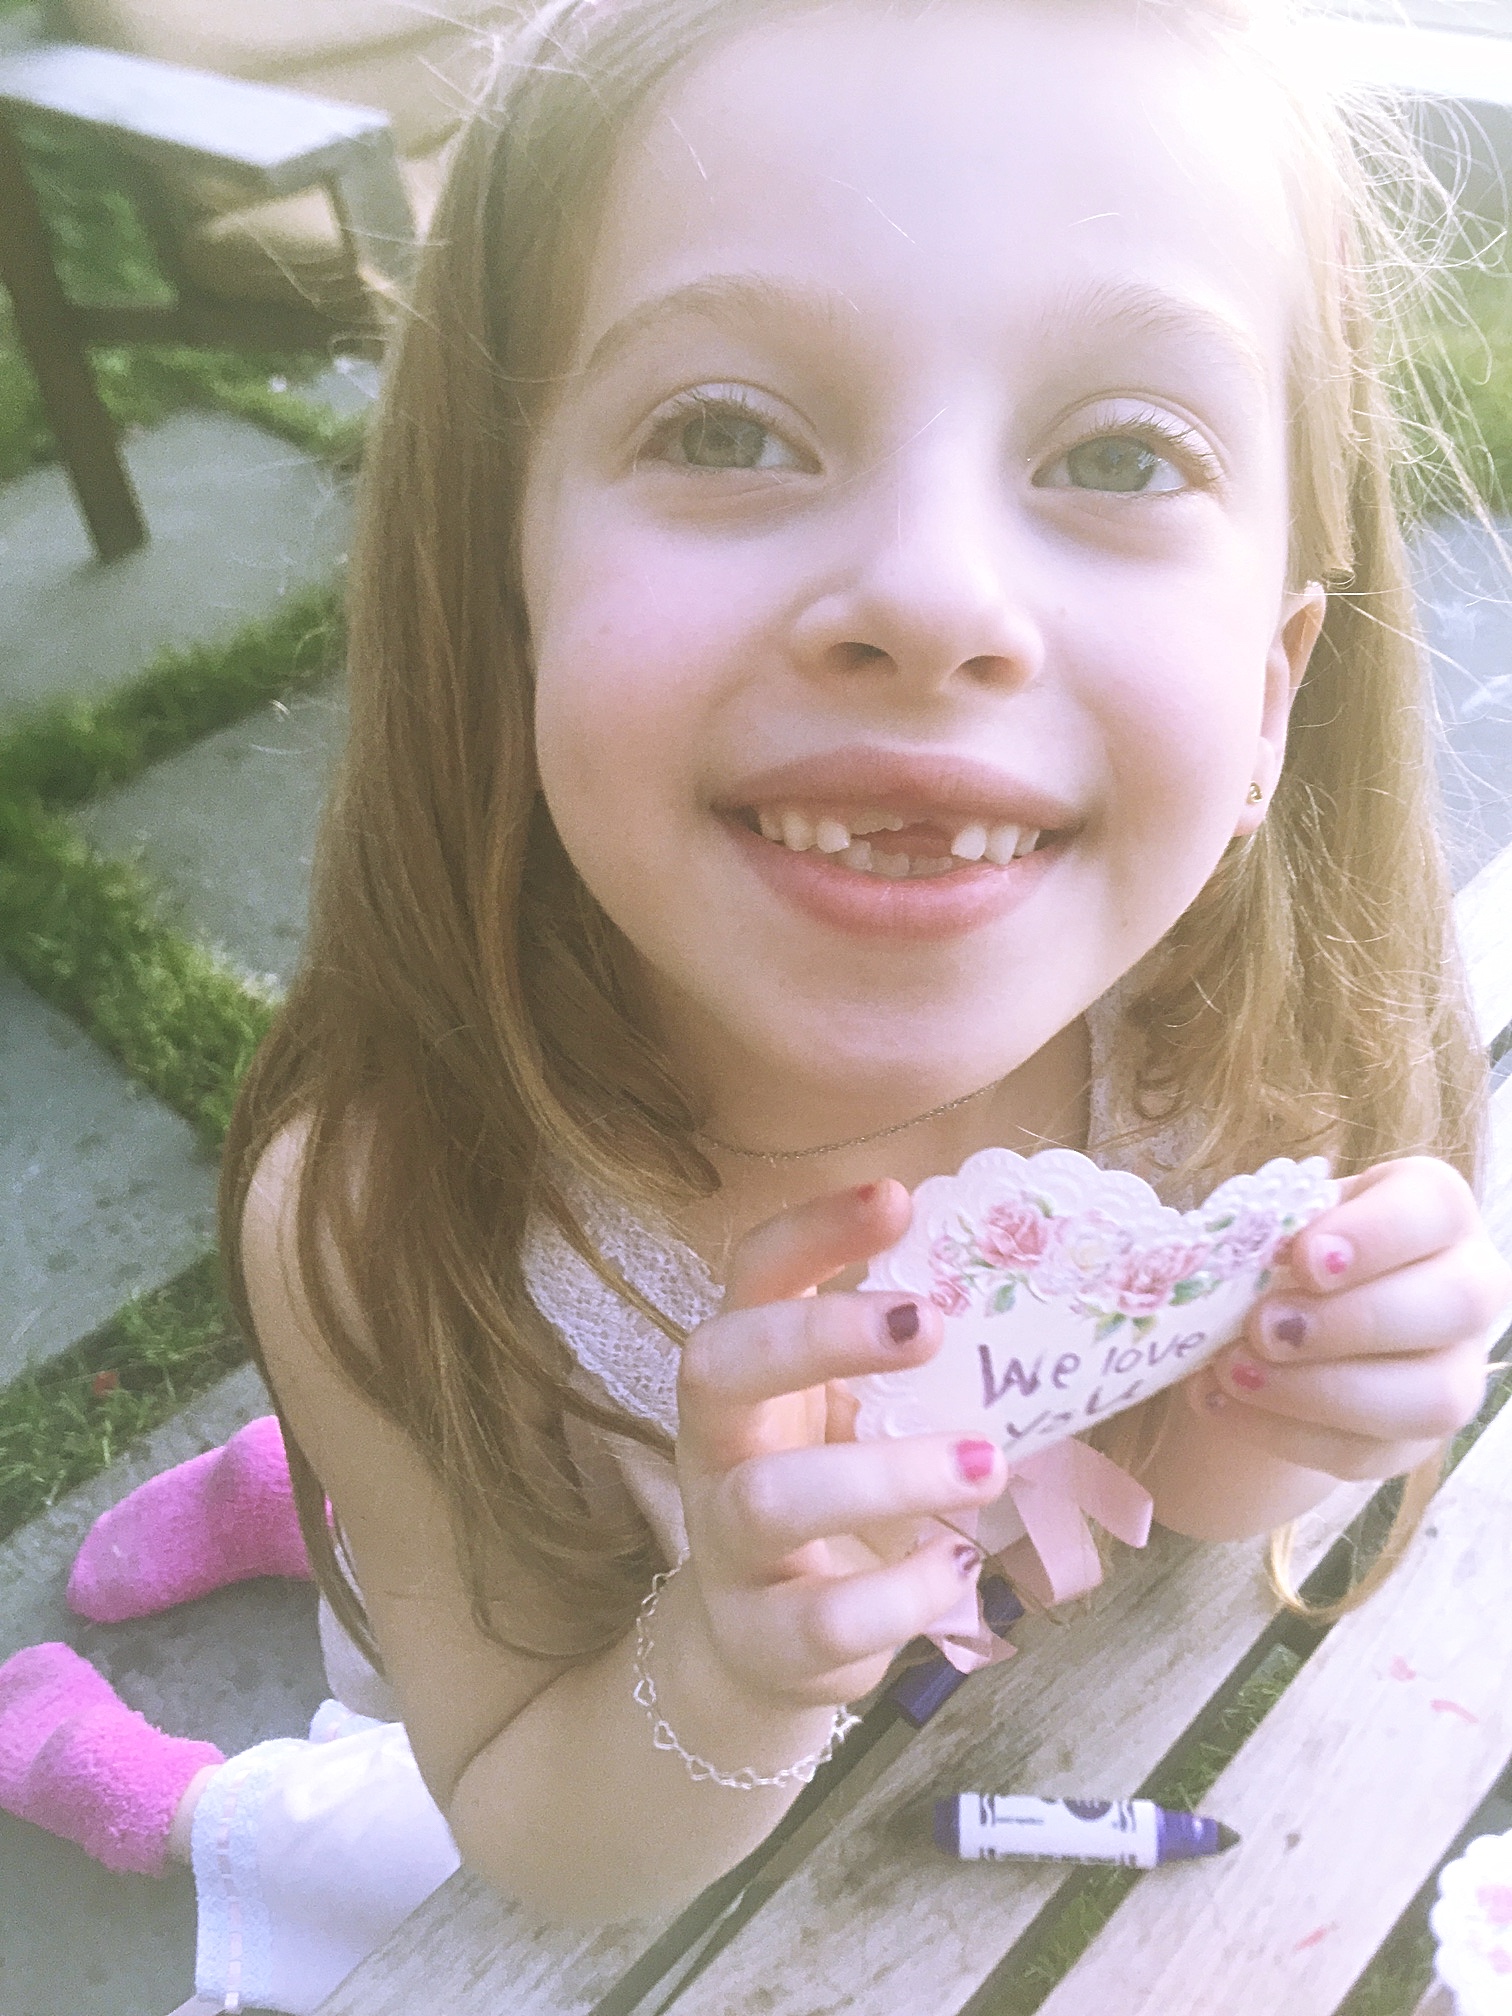
  3. Have the child/children write their letter on a small light-weight paper. I would NOT recommend something heavy or bulky like construction paper.
  4. Then, fill the balloons with helium for the ultimate impact! Don't want to buy a helium tank or pay to get them filled? That's ok too... The joy of popping the balloons to reveal a secret love letter is the point of this and a regular air filled balloon will be just as special. Dad won't notice the difference! 
  5. Delivery them to Dad on Father's Day and see his face light up with excitement and wonder

Want to make this moment even more special? Have the kids read dad their letter. He will melt with love and appreciation as the kids share their special letters with him.

Snow Globes and Christmas Trees... what could be more perfect?!

When you think of a perfect winter weekend you would probably imagine the whole family cozied up together; the children playing with snow globes and sipping hot cocoa while decorating the tree and a fire crackling in the background.  Sounds amazing right? Well, I wanted to make sure that this was a reality for us this holiday season. Check out how we did it!

While my husband was stringing the lights on the tree (and untangling miles worth of tangled bulbs) I worked with the kids on this easy homemade snow globe craft. Here is how we made them... And you probably have all of these items floating around the house already!

  1. Start with a clean mason glass jar (or any glass jar from the recycling bin)
  2. Super Glue a small figurine to the inside of the lid (we used these adorable Elf on the Shelf ones!)
  3. Optional - add a small tree (I found these at Target)
  4. Then sprinkle the glitter and snowflakes into the empty glass jar
  5. Add water almost ALL the way to the top (optional- use glycerin for a thicker liquid)
  6. When the super glue holding down the figurines is completely dry you will turn the lid upside down and submerge the figurine and secure the cap. 
  7. Optional but recommended- Add a small amount of super glue around the edges of the cap before securing. This will help to avoid any little fingers from possibly opening the jar and causing a major leak!

Candy Necklaces

I know this is technically a food, I mean we all eat candy, but I think this is more of a DIY project than a DIY Food... 

So lets get started!!

1. Pick candy that has a large center ring opening. I bought so many options so the children had an assortment to pick from. Here is what we used: Gummy Lifesavers, Sour Gummy Lifesavers, Gummy Ring Pop candy, Twizzler Rainbow, Red Vines and Sour Peach Gummies. You could also use hard lifesavers (my kids just prefer gummy). My daughter also decided it would be fun to add the Halloween Rings we bought for fun to incorporate in her necklace. But make sure your children don't eat them though!

All of this candy is from Michael's or Target

2. Buy a sturdy plastic cord/string to use. I found these Stretch Magic Silkies rubber necklaces from Michael's and they were so easy to use because they came with a built in clasp. The children didn't need any help getting started or finished!

3. To start on the necklaces, remind the little ones to pinch one end so the candy doesn't fall of. Let the kids enjoy creating a beautiful edible and wearable masterpiece! 

Try this at your next playdate or Halloween Party and I'm sure it will be a smash!

Leave comments or questions below.

candy necklaces 3.jpg

DIY Signature Plate

Let me save you a ton of money on this idea!
Check out this 1st Birthday Signature plate that we made ourselves at home for Brent's 1st birthday party. These same plates sell for $30 or more online. But by simply doing it yourself can save you a ton! Plus it's way more fun. 

Here is what you'll need:

  • 1 ceramic white plate about 10" round (Michaels makes this amazing kit)
  • Acrylic Paint (Crayola) or use colors from the kit
  • soft medium size paint brush or a sponge will work too
  • 1 paper plate
  • wet paper towel
  • Sharpie Marker (Don't let the kids get there hands on this!!)

How to:

  • Make sure the plate is clean and dry
  • put a small amount of paint on a paper plate
  • brush the paint on the kids hands or feet (it tickles a little!)
  • place their hands/feet directly onto the plate (may smear a little but it's ok!!)
  • put the plate somewhere safe to dry
  • wash the hands/feet immediately with the wet towel

This is so simple and personalized! Everyone will be excited to sign it and your child will have this amazing keep sake forever. Share your party ideas below or tag us in your next DIY signature plate post!